Nancy Crow has been an influential force in the history of art quilting, and I have long been an admirer of her work. For many years I dreamt about having the chance to study with her. Last week that dream became a reality as I attended her Strip-Piecing and Restructuring art retreat at the Crow Timber Frame Barn in Baltimore, Ohio.
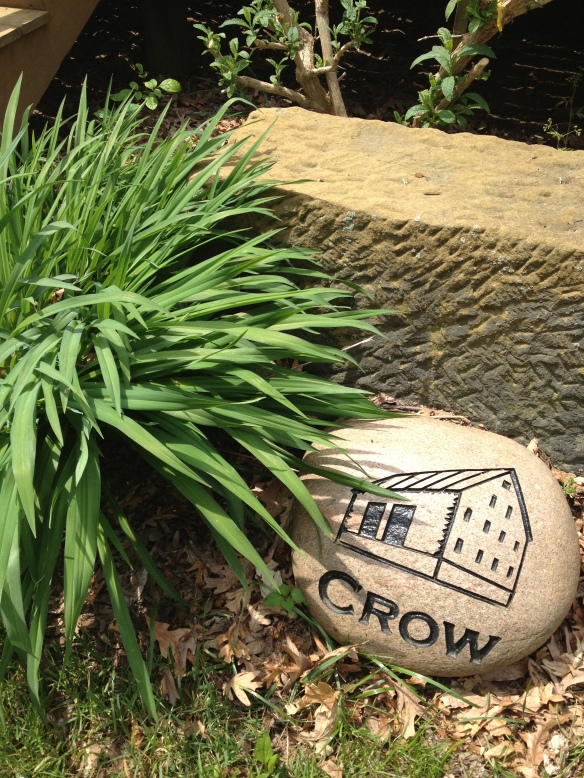
Crow Timber Frame Barn

What a week it was! From the start, this retreat was so much more than sewing and quilting and creating art from fabric. It was at times exciting, nerve-wracking, fun, frustrating, emotional, physically and mentally exhausting, joyous, soul-searching and so much more.
The class is comprised of a series of design and composition exercises, each one to teach and challenge us as individual and as artists. Nancy asked us all to be sponges, to be flexible, and to not bring to the table any expectations or agendas. So it was with that mindset that I jumped in to learn as much as I could about myself and the work I would create.
Each day we were given timed exercises with a specific focus and expected results. It was up to each of us to energetically interpret these challenges without over thinking. The pace was fast and furious. The first challenge required me to think of my rotary cutter as a drawing tool. All week we would be cutting fabric strips freehand – without benefit of a ruler for measure or guidance. This meant that I had to learn how to cut towards myself (something I always thought I shouldn’t do for safety reasons!). It wasn’t long before I got the hang of it, and while at the beginning of the week my lines were uneven and raggedy, by the end of the week I was able to cut the strips in the widths I wanted and I loved the expression that freehand cutting lent to the lines.
We moved onto creating strip-pieced fabrics – lots and lots of them. By working through the exercises, I learned about the importance of line and shape, color value and relationships, neutrals, the dull or glowing quality of a color and effect of brights on colors/values.
Our first composition was to create a configuration of irregular squares and rectangles cut up from all those strip-pieced fabrics we had just sewn together. This required a great deal of arranging and rearranging of the parts on our design walls. Then we had to figure out how to sew it all together and fill in the connecting spaces. I kept reminding myself to not over think…just make it work until I was happy with the composition. (Yes, I kept hearing Tim Gunn saying his famous Project Runway advice!)

Strip Piecing & Restructuring – Composition 1
After our first composition, we were challenged to create more strip-pieced fabrics, interpreting “recipes” in our own way. There were over 3 dozen options Nancy wanted us to try. I just kept cutting and sewing as fast as I could. I felt like I was doing factory work! My hands and wrists ached from all the repetitive motion but being someone used to deadlines, I forged ahead. At one point, for no obvious reason, my machine needle simply broke, without hitting a pin, etc. I think it just wore out from all the speed sewing.
With dozens of strip-pieced fabrics, ready or not, it was time to learn more about restructuring and re-combining those fabrics to create exciting units. And then it was onto composition #2…a large new composition comprised of restructured units. Nancy pushed each of us to juxtapose intensely busy units against ones that were more quiet or spare or subdued. This exercise was so much harder than I had expected it to be. Looking back on my first composition and on the fabrics I had strip-pieced, I realized that I have a habit of working only in middle color values. I really had to push myself to use contrasts to make the work more daring and not my same old – same old comfortable approach.
I struggled and started and restarted many times, but in the end, it came together and I was OK with the results. I gave my composition the working title of “Stuck in the Middle” because that is how I felt most of the time I was working on it – stuck in the middle of the exercise and stuck in middle value colors that lacked contrast and excitement.
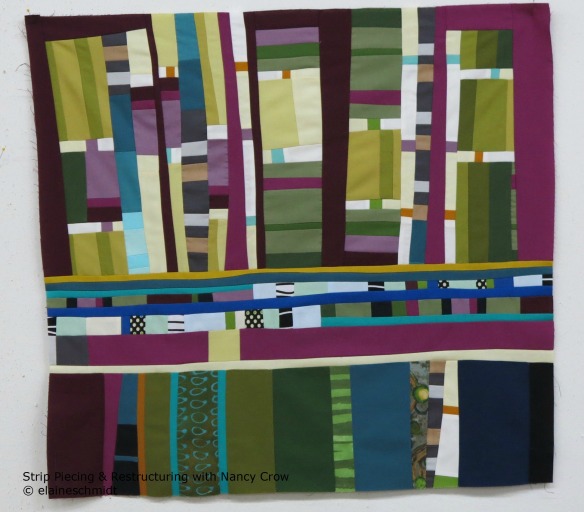
Strip-Piecing & Restructuring – Composition 2
Nancy is a great teacher, and like many great teachers, she forces you to learn by leading you to a path of self discovery. She cannot provide you with all the answers to your questions. That is something each one of us, as artists, needs to address for ourselves. The path is scary and while I have just begun my journey, I am excited about the road ahead.
As a friend who has studied with Nancy noted on my Facebook page, this workshop would be a game changer. So true! Thank you, Nancy, for leading the way. Thank you to all my class mates who inspired me with their work, encouragement and friendship. And a big thank you to Margaret Wolf who prepared the most delicious meals and snacks to keep us all nourished, body and soul, during the week. The Crow Timber Frame Barn is an inspiring environment well suited to personal discovery. I highly recommend you go to one of their retreats, whether you study with Nancy of any of the incredibly talented artists who come there to teach. It is a very special place.
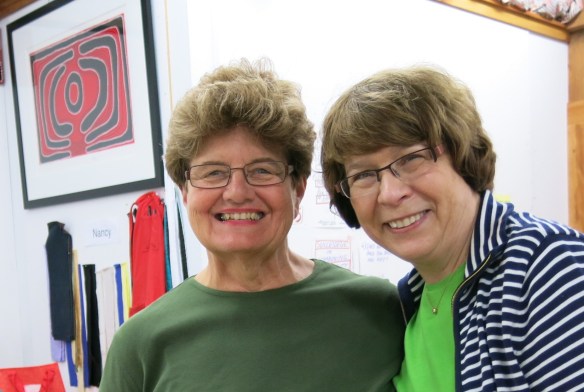
Nancy Crow & Me


