The fridge is packed with Thanksgiving leftovers and the Black Friday ads are out, so now it is time to think about Christmas. While I try to plan ahead each year, I really find it difficult to get into the Christmas spirit early (unless I am working on a book project or something for one of my clients!). In my personal life, I like to take my holidays one at a time.
So here is a little Christmas project I want to share with you. I designed it for the Renaissance Ribbons Quilt Market & Festival booth. I love Sue Spargo’s holiday ribbons and I thought they might look good with a few hand embroidery stitches. I was trying to create the feel of a richly embroidered/needlepointed Christmas stocking, but with a bit less time-consuming hand stitching. So I sewed the ribbons down to the velveteen stocking shape with pearl cotton hand stitches and then added rows of stitching between the ribbon rows.
 I used cotton velveteen for the base of the stocking and I pre-washed it. (You’ll see why shortly.) Then I cut out my stocking shape (a basic one I have used for several projects) and fused the rows of ribbons in place to the stocking front. For the embroidery, I chose pearl cotton, in sizes 5 and 8, but floss would certainly work too. To make it easy to sew the stitches, keep them even and work without an embroidery hoop, I used strips of Sew Cherished crazy stitch adhesive guides. What a cool product! You cut the designs into strips. They are tacky so you can stick the strips where you want the stitches to be and then sew right on top of them. The needle slides through the adhesive paper easily and you don’t have to worry about making your stitches perfectly spaced – just follow the lines. When you are done stitching, place the stocking shape in water and the adhesive paper will quickly dissolve. So now you see why I pre-washed the velveteen fabric. I was worried it might shrink. I did not pre-wash the ribbons, although I did press them lightly to smooth them before I stitched them down. They are polyester and will not shrink. After the stocking front dried, I sewed the stocking back to the front and finished off the top edges by sewing a lining in place.
 Of course you can use any stocking shape; the ribbons can be applied diagonally, vertically or horizontally. I used horizontal rows at the top to give the look of a “cuff”, but that can be replaced with an embroidered name and maybe just one row of ribbon below that line.
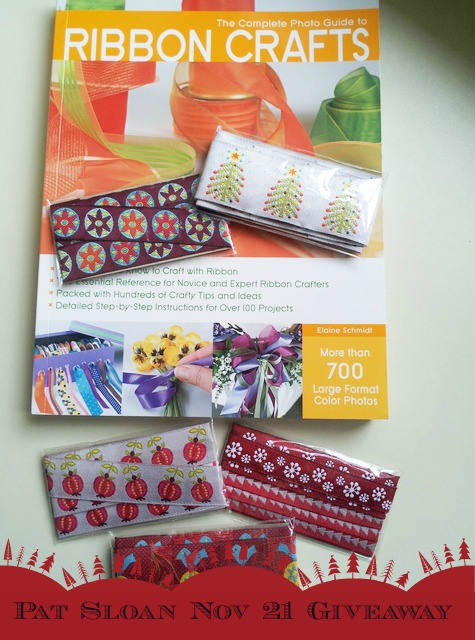
If you love these Sue Spargo Christmas ribbons as much as I do, Pat Sloan is conducting a give-away of her collection, along with a copy of my ribbon book, The Complete Photo Guide to Ribbon Crafts. Check our her blog for the details.

Win a collection of Sue Spago’s holiday ribbon collection for Renaissance Ribbons – and my ribbon book too!
Good luck, but remember if you are not the lucky winner, the ribbons are available in the Renaissance Ribbon store and you can find my book on Amazon.
Hope you get into the Christmas spirit with a little bit of ribbon and stitch. Have fun!

