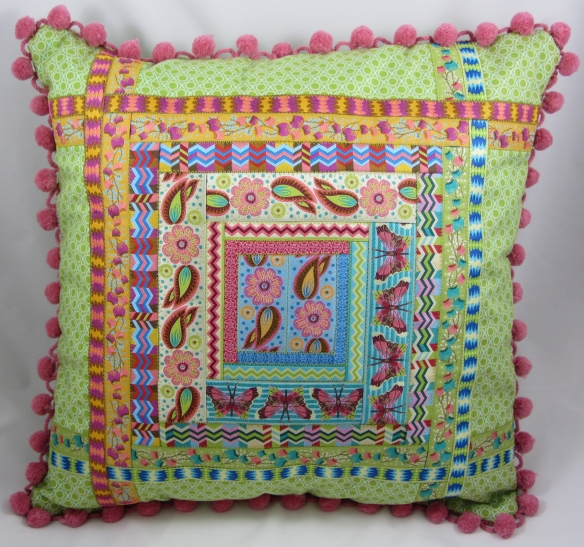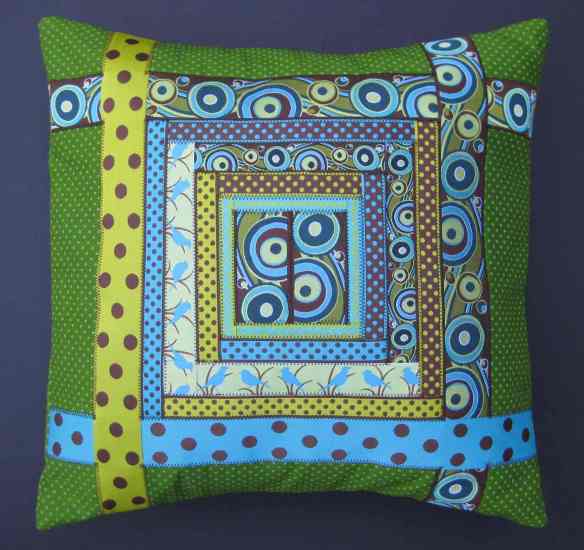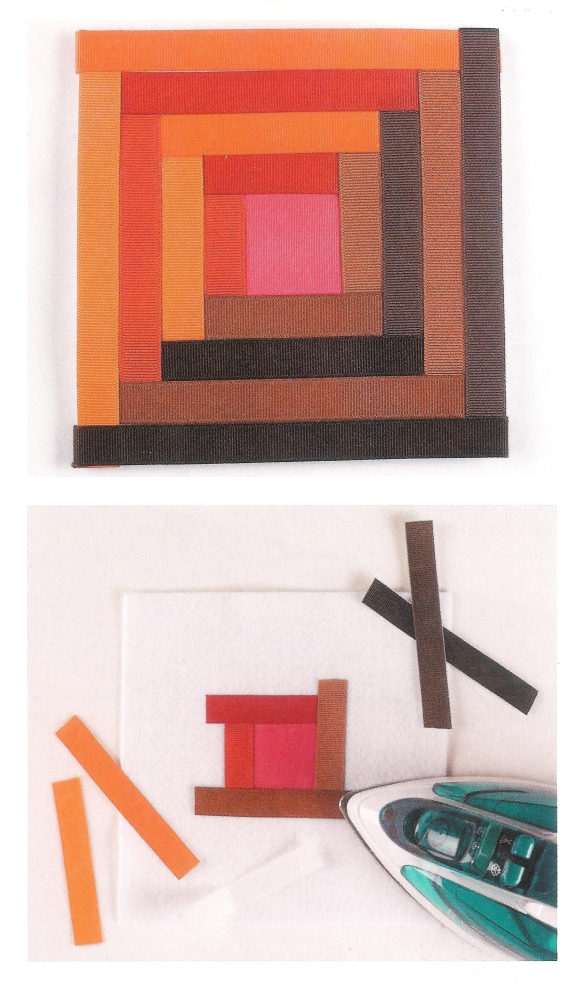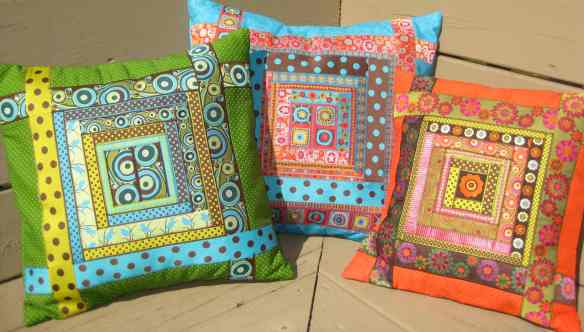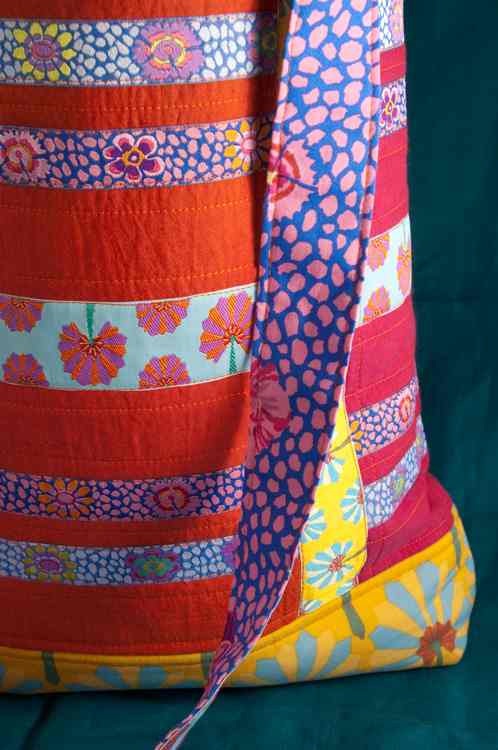
It’s that time of year again….almost Quilt Market…so I have been busy working on projects for the show. I am super excited this year because I will be demonstrating for Renaissance Ribbons at both Quilt Market and Quilt Festival. I’ll also be teaching a Schoolhouse Series class for them the day before Market opens. More and more as I work with their lovely woven ribbons, I realize how much “wow” they add to a project.
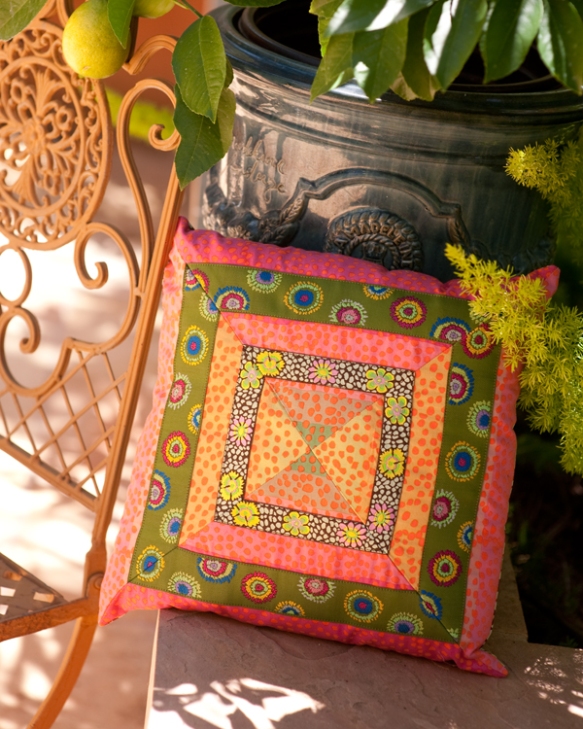
Kaffe Fassett Ribbon Pillow
Sewing with ribbons is easy. Just keep these hints & tips in mind:
– Most woven ribbons are polyester and will not shrink or fade. However, the fabric you are stitching them to may, so it is always a good idea to pre-wash and dry your base fabric as you would the finished project. Of course, if you are making something that will never be washed, that is not necessary.
– Be careful when ironing ribbons. Set the iron temperature to a lower synthetic setting. Before sewing any project, I like to lightly press the ribbons with a steam iron to smooth them and prepare them for stitching. Once the ribbons are stitched to the base fabric, make sure you continue to press them with a cool iron. Or, if the iron is on a cotton setting, press the ribbons from the wrong side of the fabric or use a pressing cloth to protect them.
– To eliminate the need for pins and to keep the ribbons from shifting as they are sewn in place, I like to use a little basting glue or strips of lightweight fusible web such as Steam-a-Seam. Follow the directions on the packaging and apply the adhesive to the wrong side of the ribbon. Make sure whatever adhesive you select is OK for stitching through. 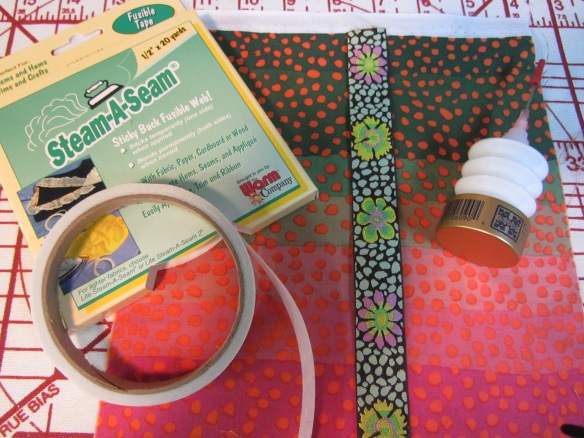 – To sew the ribbons by machine, use a size 75 or 80 needle and make sure that it is sharp. The needle should be fine enough so that the holes it creates in the ribbon are just large enough for the sewing thread.
– I generally use polyester thread and sew the ribbon close to each side with straight or zigzag or overcast stitches. You might also want to experiment with machine embroidery threads and decorative machine stitches. Match the ribbon color if you don’t want the stitches to show or select a coordinating and contrasting color for added interest.
– Always sew in the same direction on both sides of the ribbon. This will prevent any shifting and puckering. 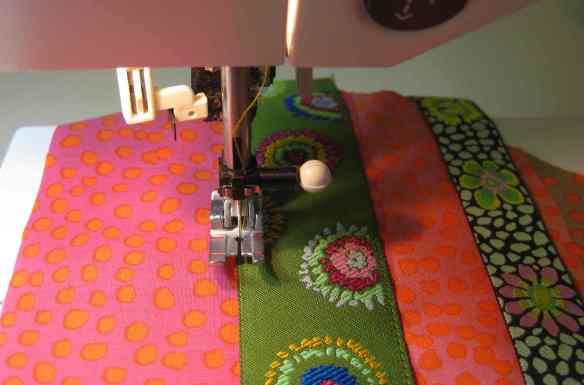 – Ribbons can also be sewn by hand. Use a fine needle and sew slip stitches close to both edges of the ribbon. For added “wow”, beads can be added to the slip stitches.
 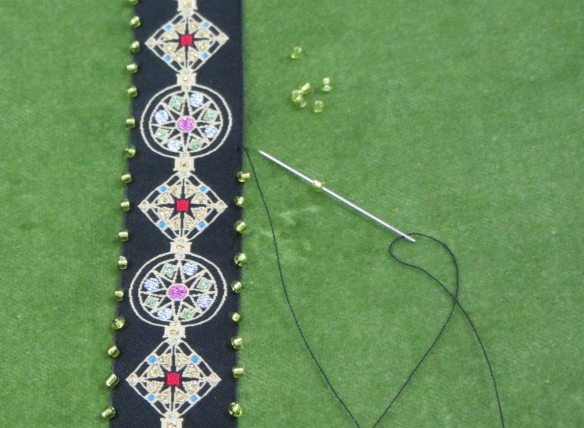 Hope these hints & tips will encourage you to start sewing with the pretty ribbons you might have in your stash. And next time you are tempted at the store, go ahead and pick up a yard or two of your favorites. I am sure you will find just the perfect way to use them to add that touch of “wow” to your projects.
I’ll be posting more ribbon project ideas and tutorials here soon, as well as on the Renaissance Ribbons blog.
 I am thrilled to be invited to be a guest on American Patchwork & Quilting Radio with Pat Sloan. We’ll be live on the air tomorrow, Sept 10, at 4pm Eastern time, so please join us if you can. I love to listen to Pat’s online radio show, especially when I am working on a project in my workroom. It always feels like a bunch of quilting and sewing friends have stopped by for a visit…kindred folks sharing their passions and discoveries.

