Natalie’s Baby Quilt

It’s been an embarrassingly long time since I’ve written a blog post. But I hadn’t realized just how long it’s been until I went searching for the post I wrote about William’s baby quilt. Well, William is now 4 years old and has a beautiful baby sister named Natalie, who is 4 months old. Talk about time flying by…

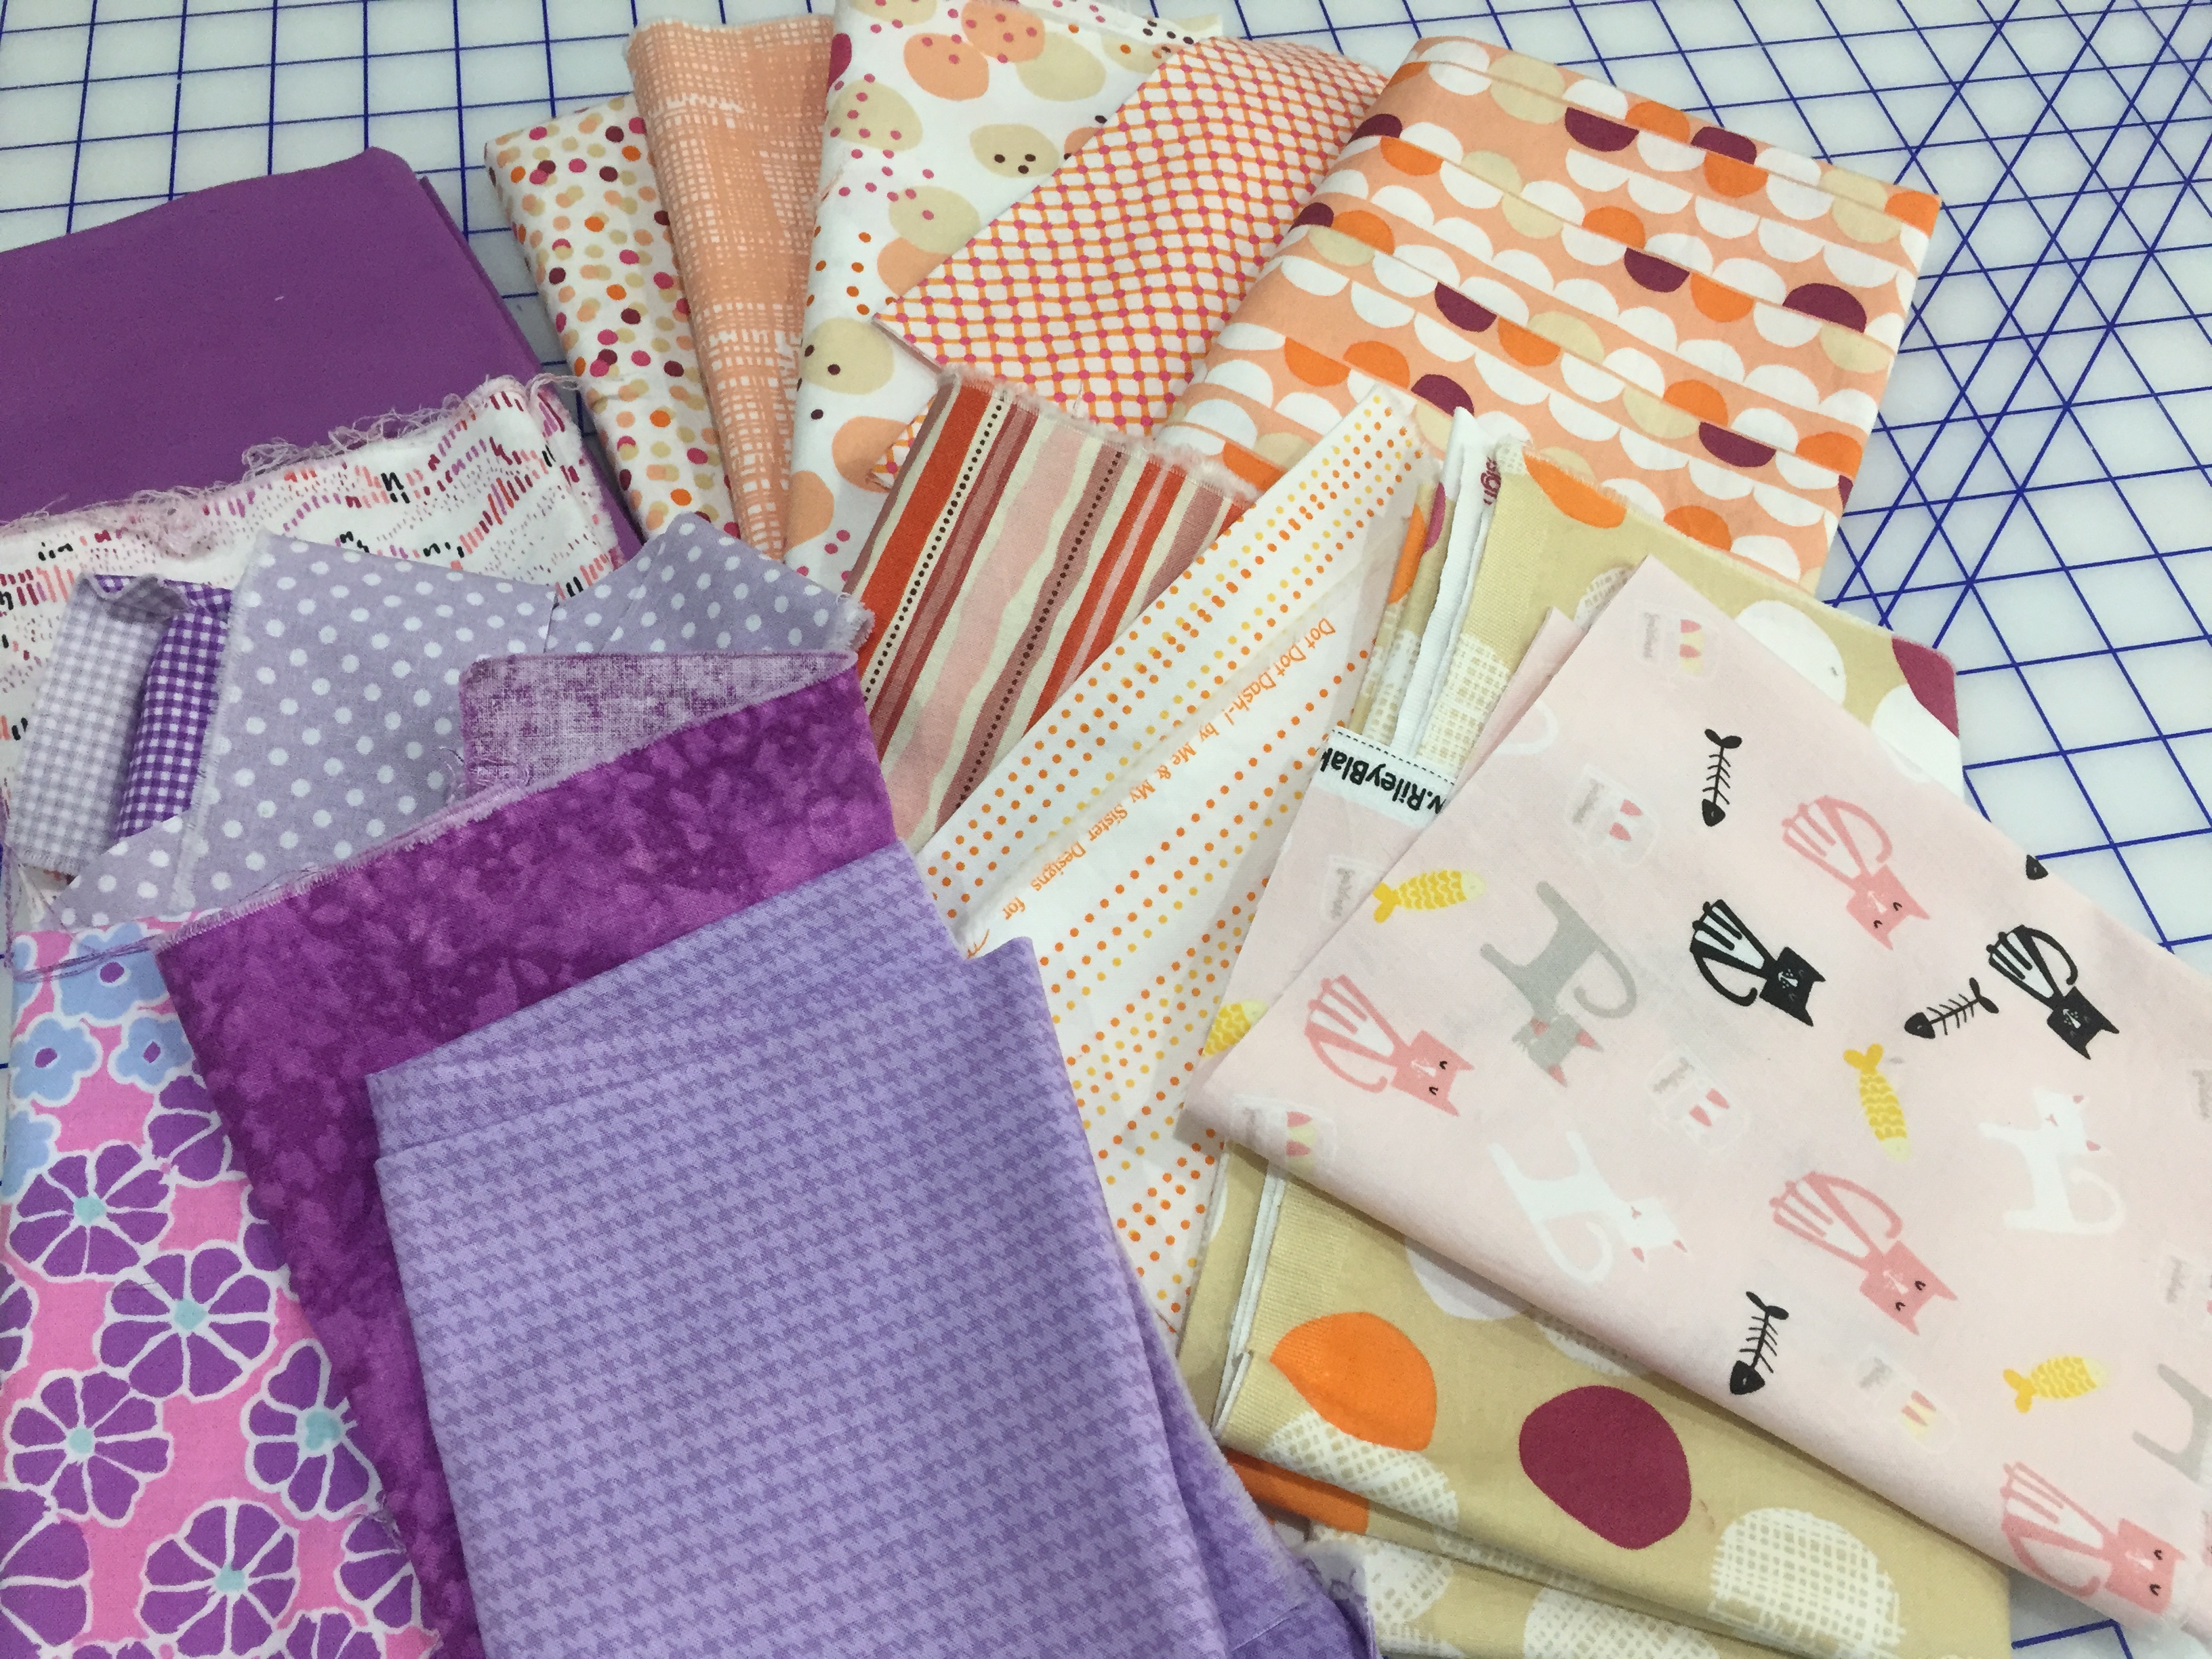
I wanted to make a quilt similar to William’s quilt, but I wanted it to look a little different. So to coordinate with Natalie’s nursery, I pulled pink and coral and lavender fabrics from my stash. Of course I had to add a few new fabrics, including a crazy cat print so the family’s cat Cole would be represented.

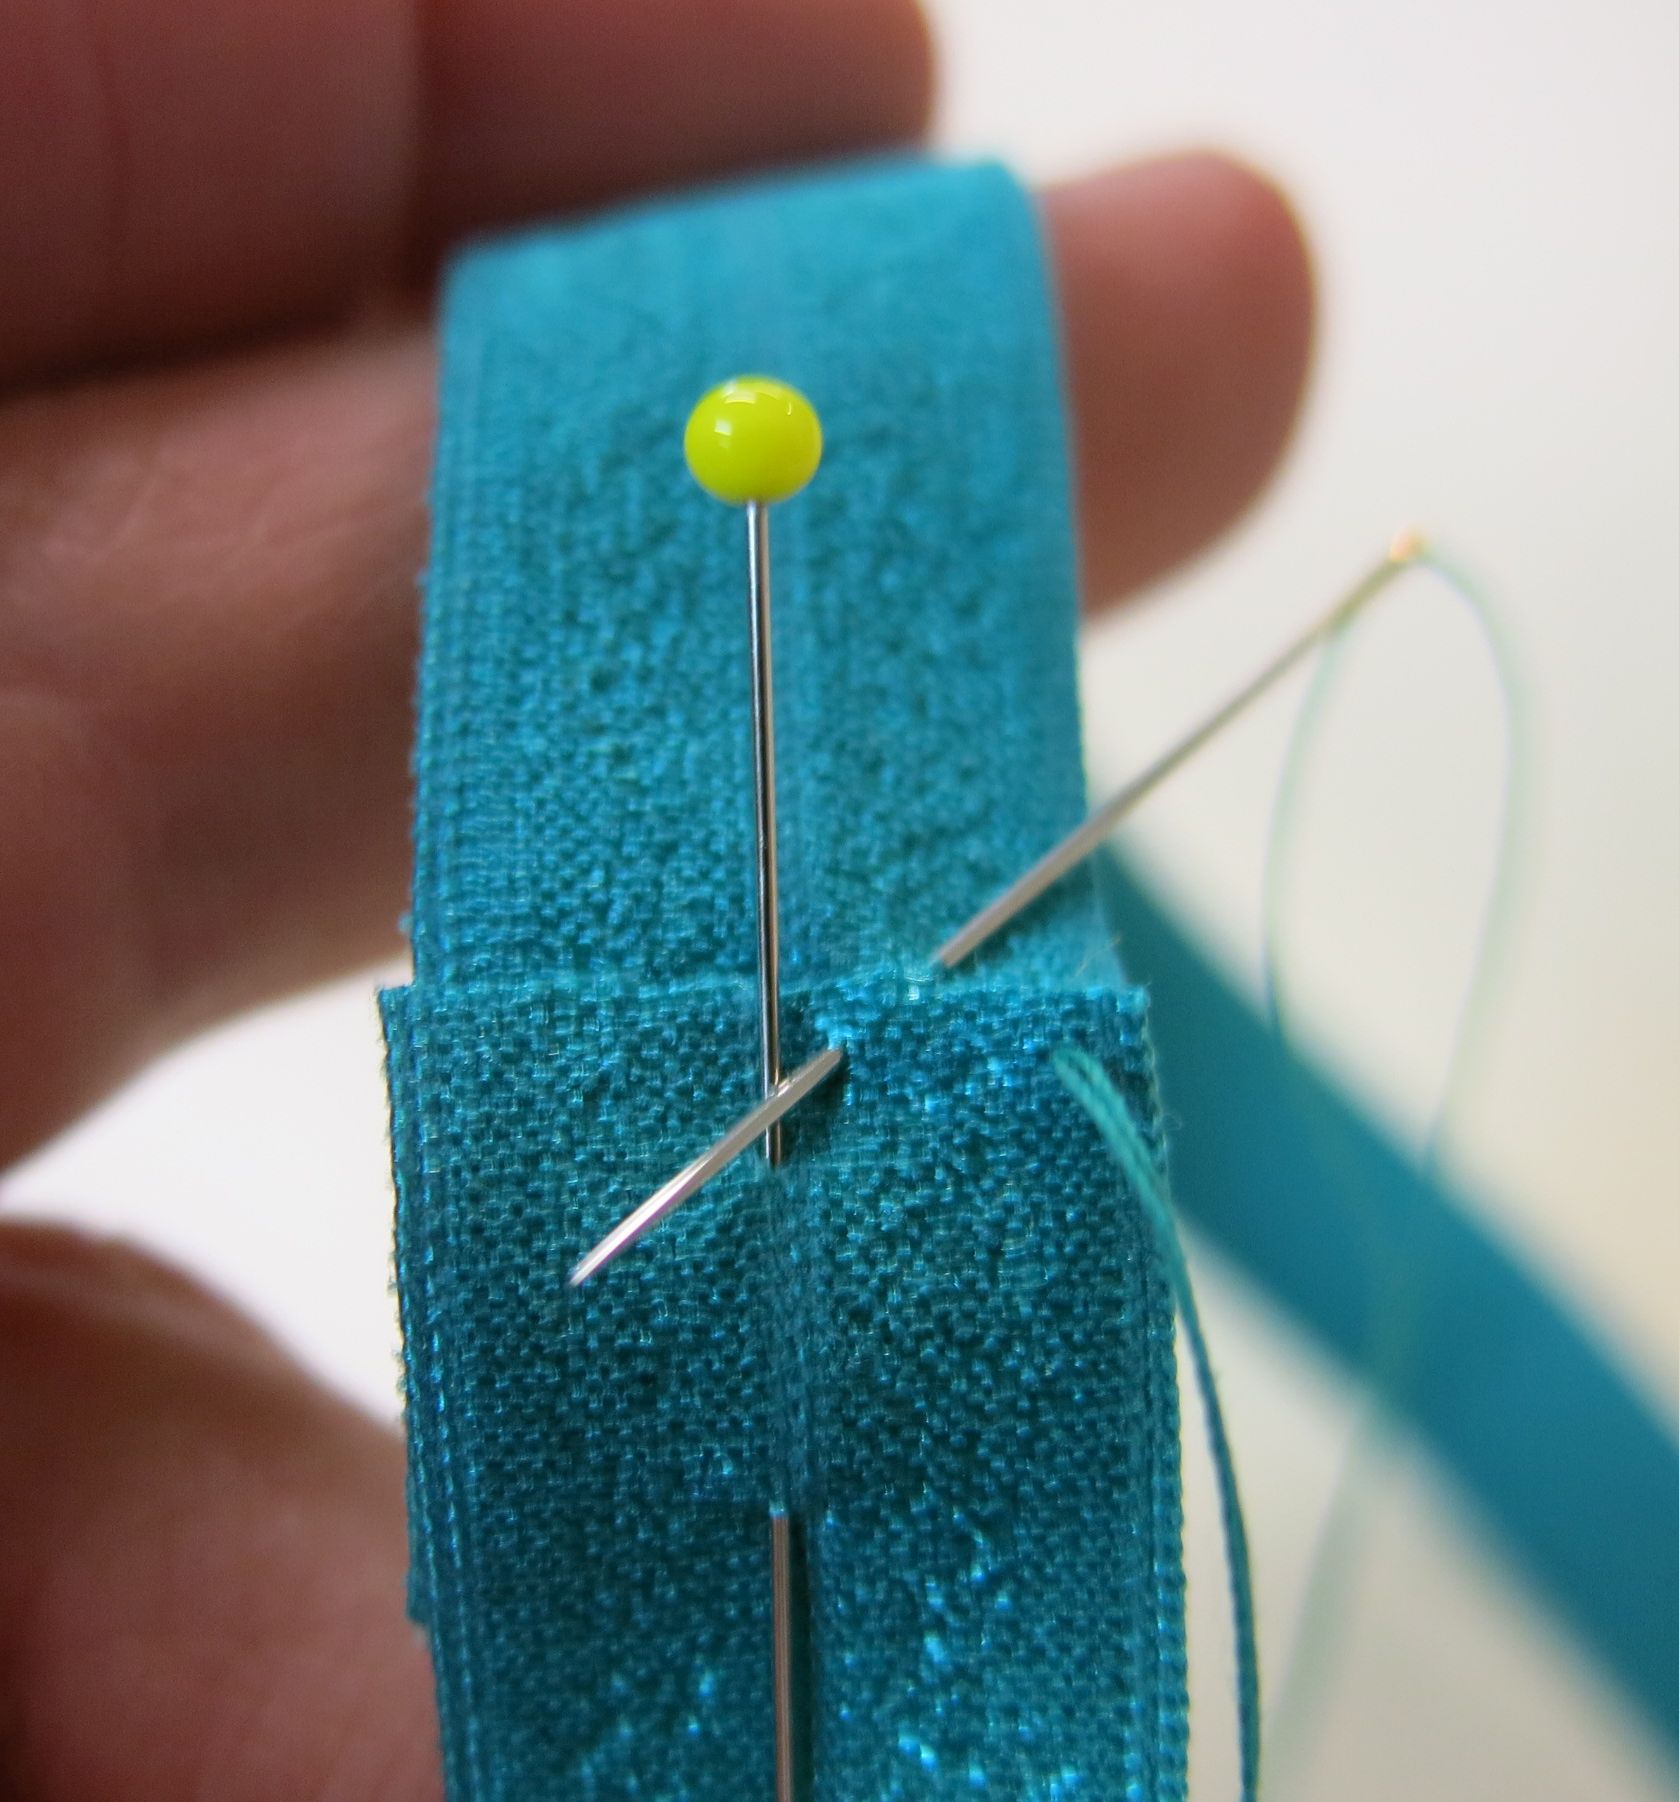
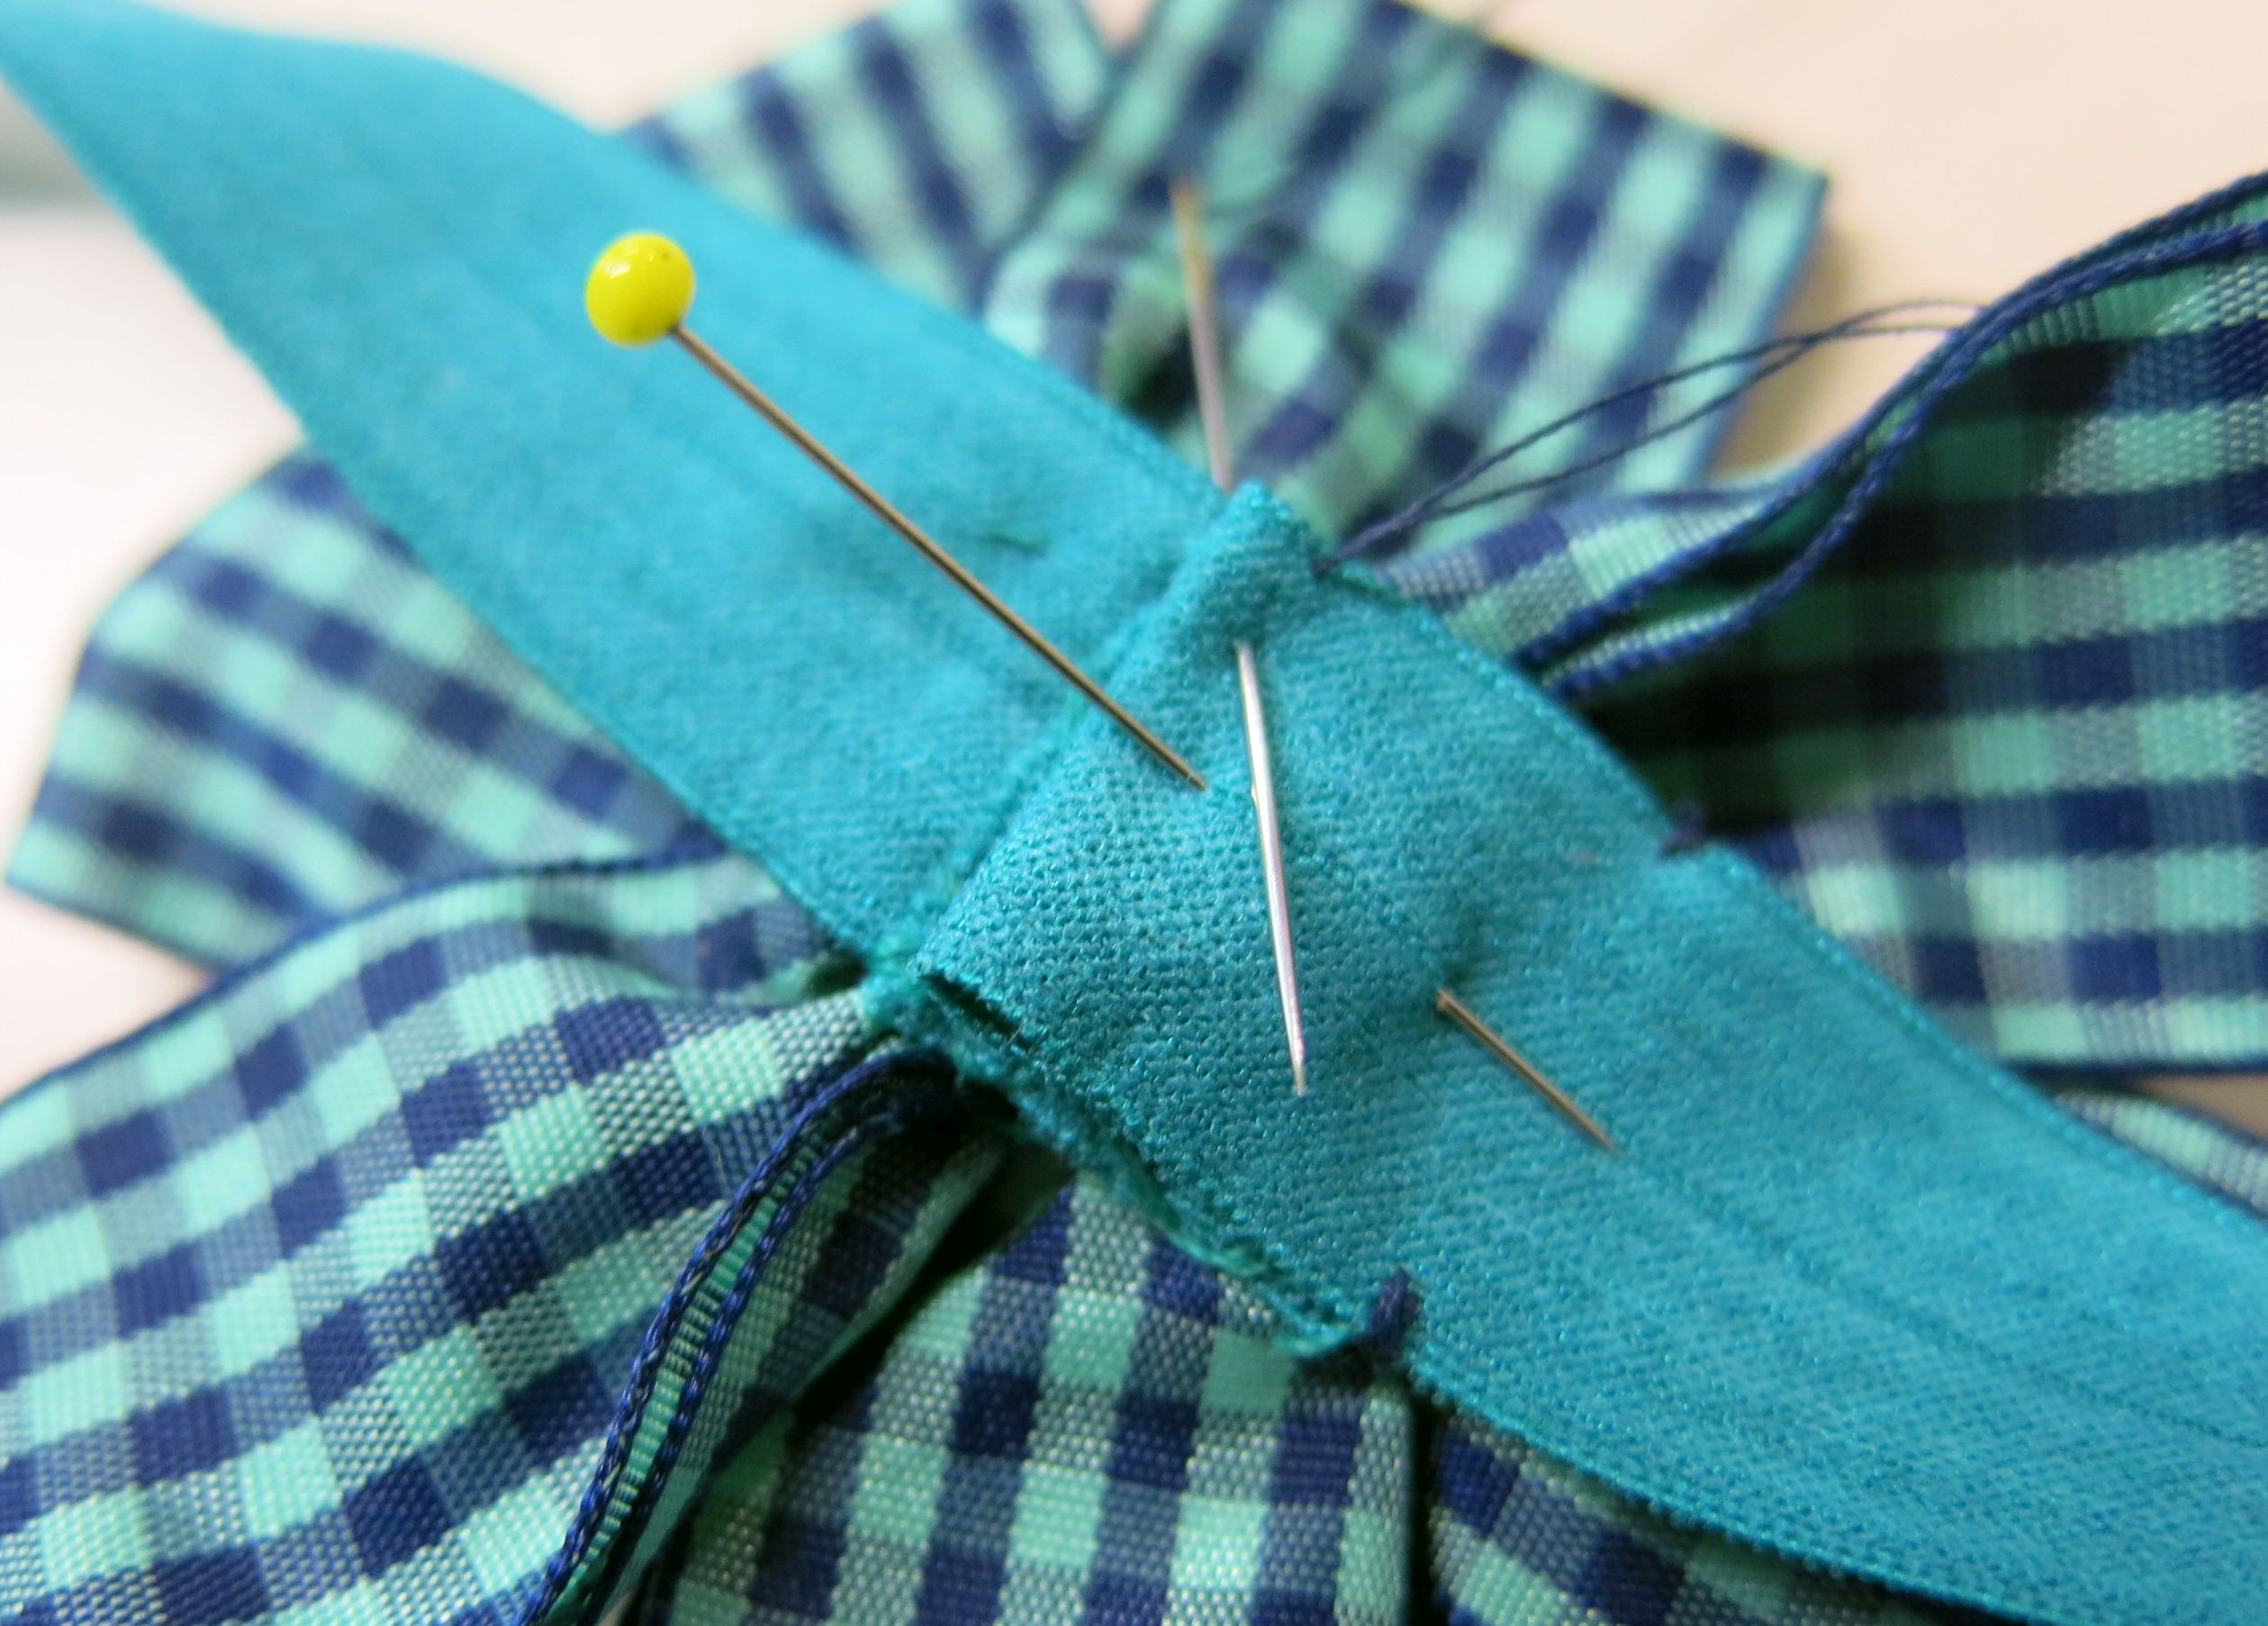
I cut 25 WOF (width of fabric) strips 2 1/4″ wide from all the fabrics. Then I cut each strip into two or three varying lengths. I made a big pile with all the strips and stirred them up. Using the basic process for making a jelly roll race quilt, I sewed the strips together in random order (note the ends of the strips were sewn straight across and not on the diagonal as William’s quilt).

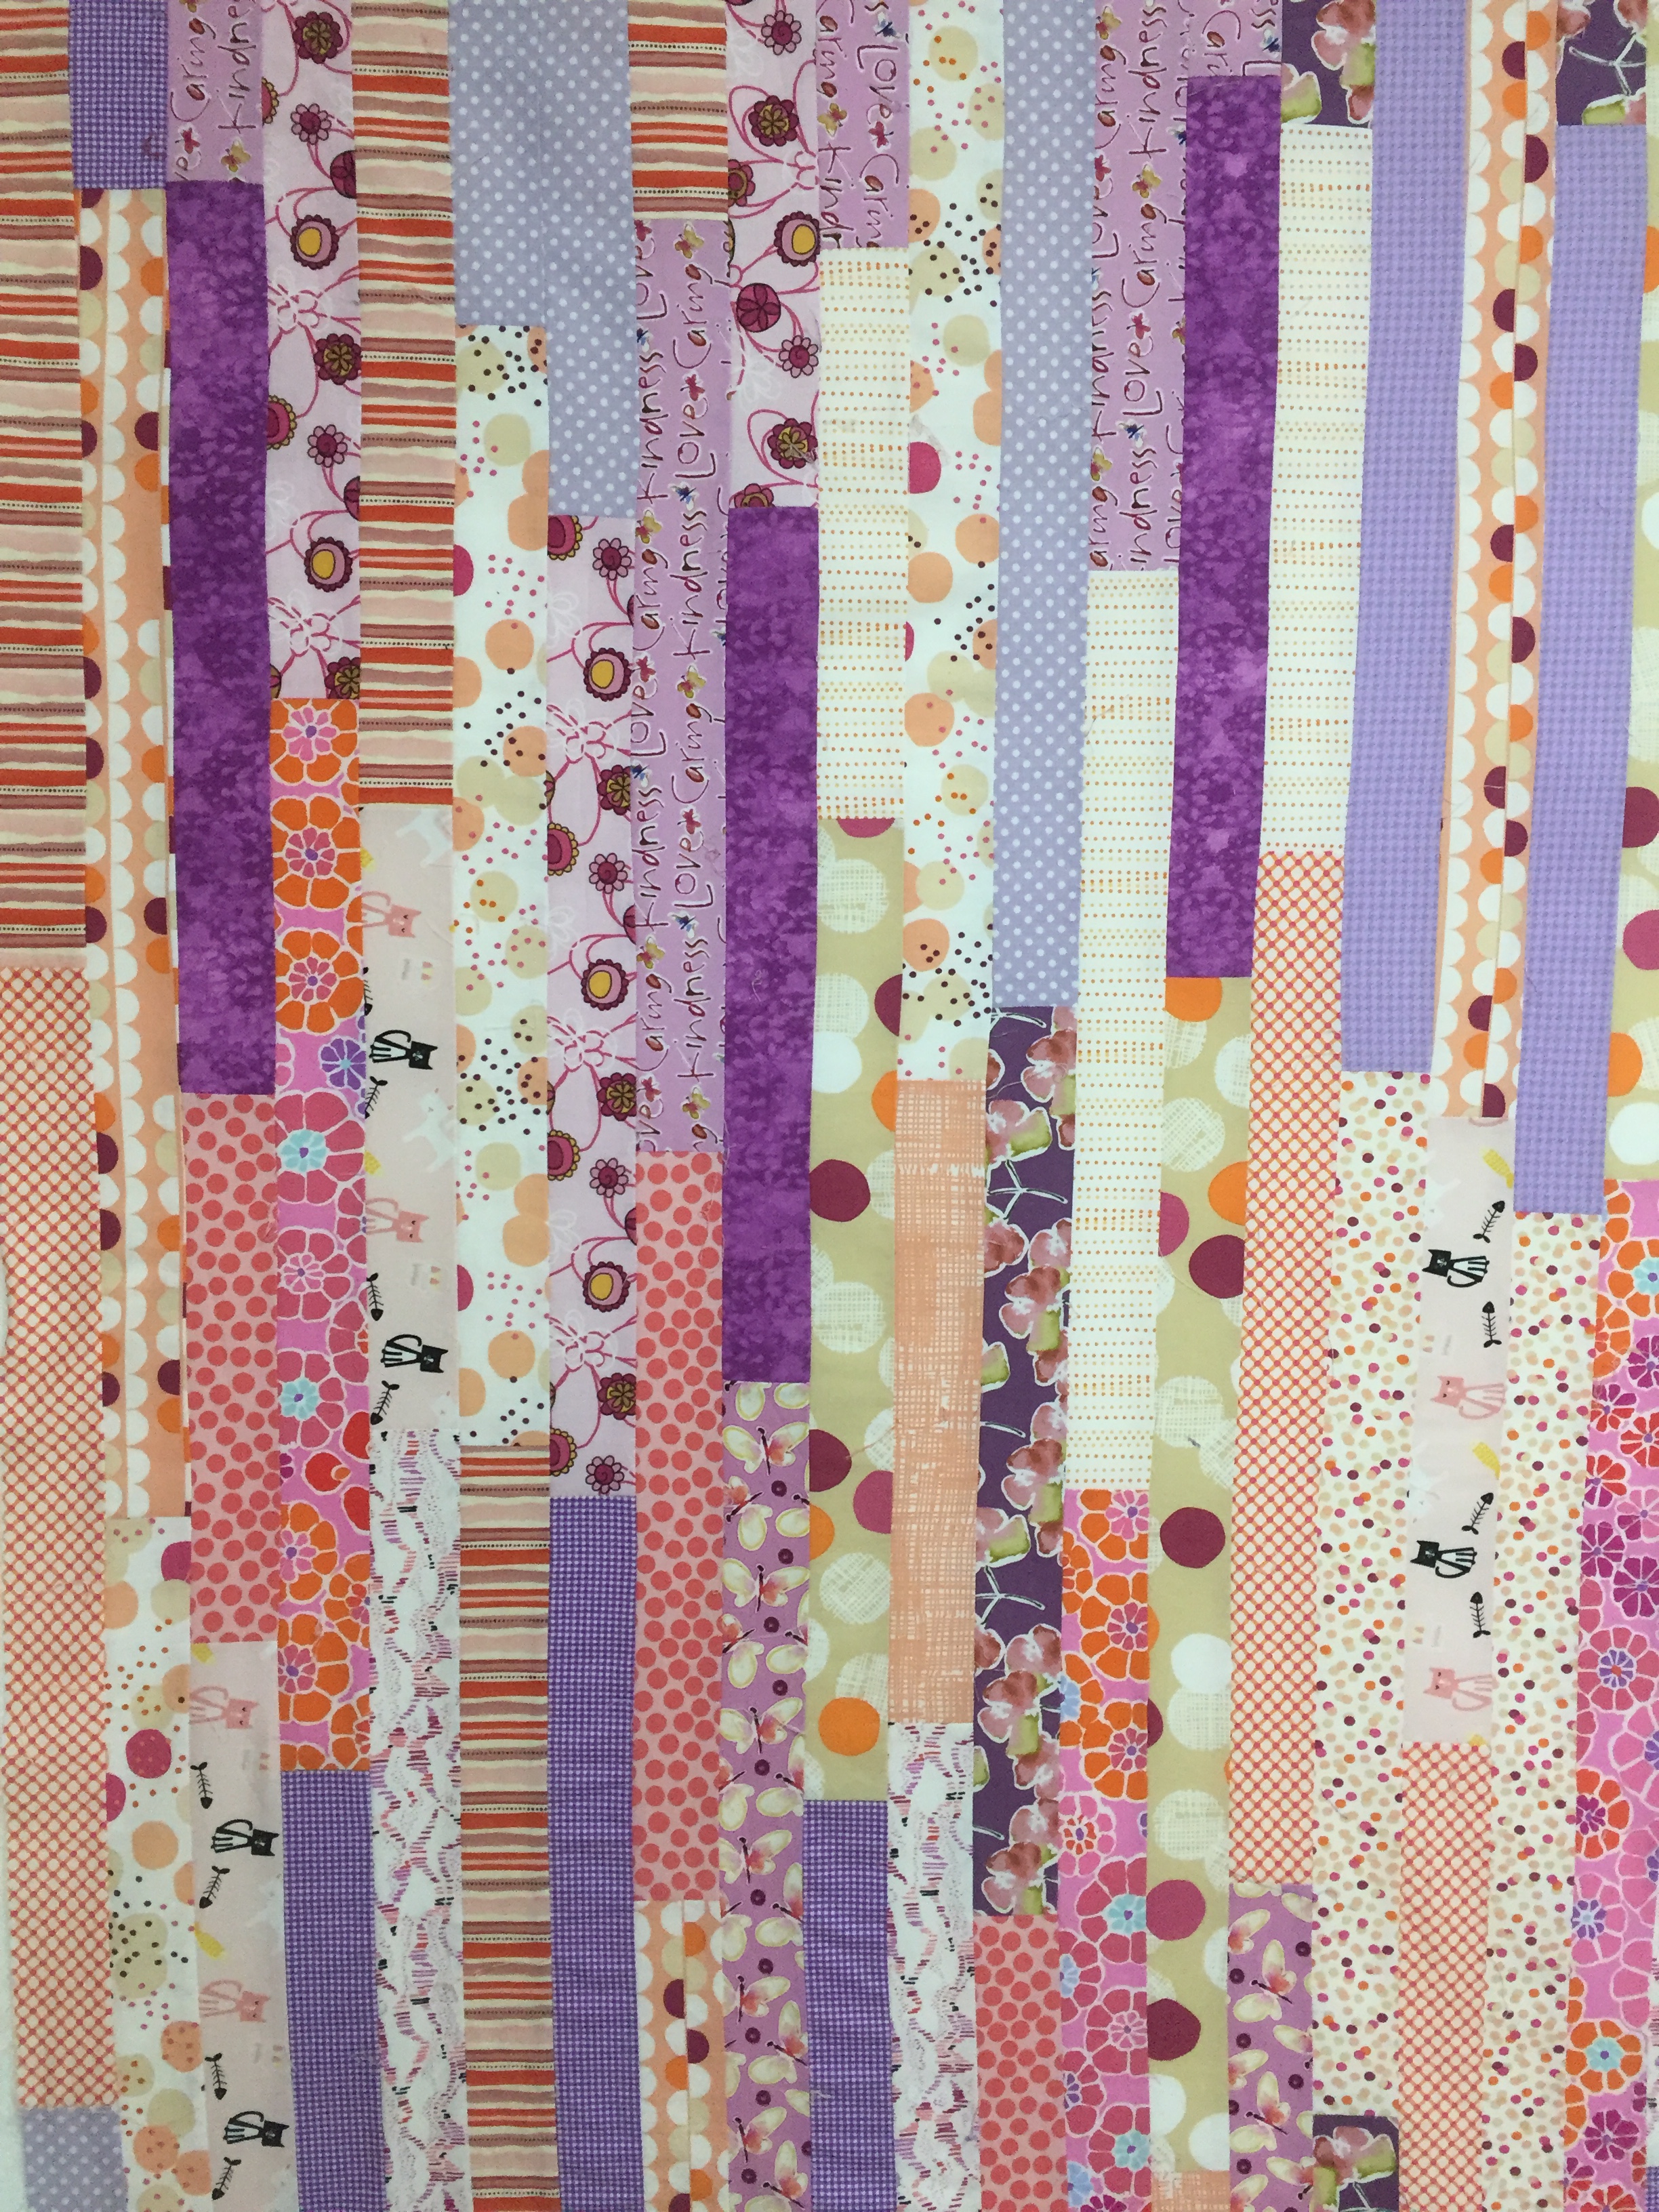
I quickly ended up with a sewn rectangle about 35″ wide. Next I worked on the pieced letters for Natalie’s name. I made the name section 7″ x 35″. The letters are about 4 – 4 1/2″ tall. I followed the basic techniques in Tonya Ricucci’s book Word Play Quilts.

I cut across the rectangle about 10″ from the top and inserted Natalie’s name. Then it was time for quilting and binding.

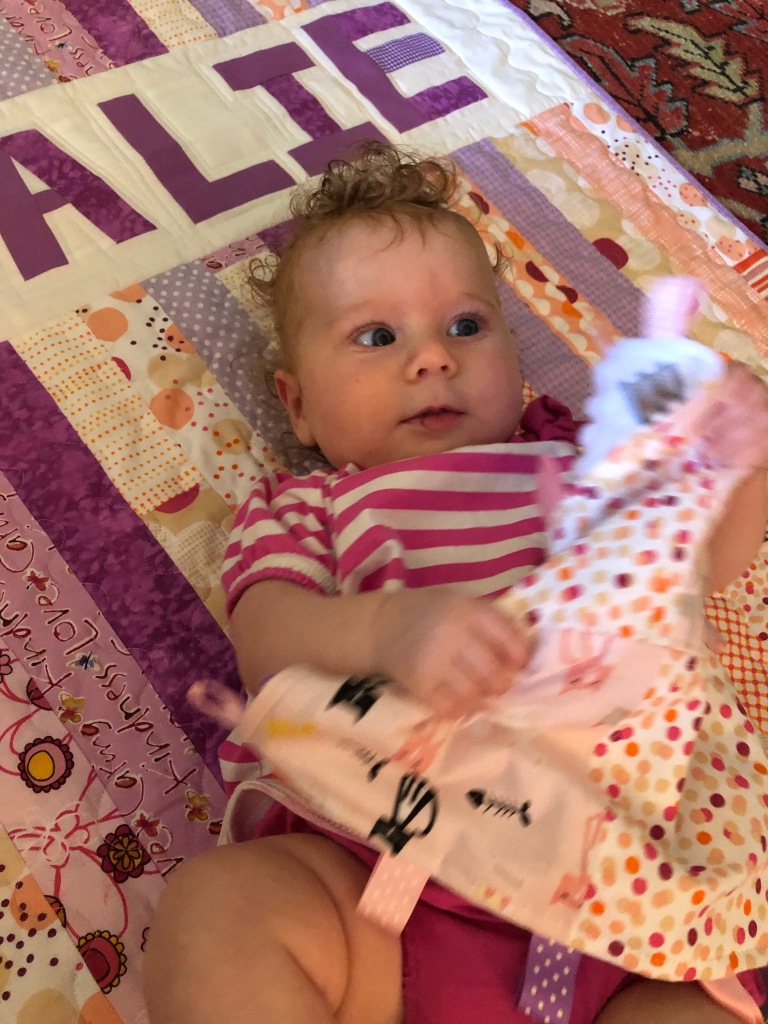
Here’s Natalie on her new quilt. Those curls…those rosy cheeks! She’s playing with a little coordinating taggie toy I made with leftover fabrics and ribbon loops. I think she likes it 🙂

Baby Quilt for William

Ever since I first read about jelly roll race quilts, I knew I would have to stitch one…someday. And I’ve always been interested in trying improv patchwork alphabet letters…someday. So when my niece had a baby boy, I decided that someday was now. I would combine a quick jelly roll race quilt with personalized patched letters to make William a baby quilt.

CroppedQuilt

I pulled together a bunch of precut strips, as well as solids and prints from my stash, in a happy orange, yellow, turquoise, and green color scheme. I cut the stash pieces into 2 1/2″ strips to match the width of the precut strips. Since I was making a baby quilt and wanted the fabric colors and prints to change fairly frequently, I cut my strips 18″ – 21″ long. (Traditionally jelly roll race quilts are made with strips cut across the entire width of the fabric yardage – about 40 – 42″.) I stitched them together on the diagonal into one long strip and then proceeded to sew them together in the standard way a jelly roll quilt is made. I ended up with a fairly square patched quilt top, and then cut it straight crosswise, about one quarter of the way down from the top.

Quilt top cut crosswise and ready for the name strip.

Quilt top cut crosswise and ready for the name strip.

Next I stitched the improv letters. So much fun. I chose to make them all in bright orange fabrics that would “pop” against the turquoise background fabric. I wanted tummy time to be interesting for William. Who knows, maybe one day his quilt will help him spell his name!

letters

I stitched the William strip between the two patched sections, and I was ready to layer the quilt and finish the quilting and binding.

William celebrating his three month birthday on his quilt.

William celebrating his three month birthday on his quilt.

Looks like William is happy with his quilt. It sure was a fun, quick project for his great-Aunt.

March Madness Duke Basketball Quilt

Back in the summer, when our daughter and son-in-law announced they were expecting their first child in late February, we teased them about the timing of the big event. They are both Duke grads and huge college basketball fans. What’s a better time to be home on maternity leave than during March Madness?!

Here's Ollie, born 2/28/15, just in time for March Madness! One week old and sporting his Duke Blue Devils hat.

Here’s Ollie, born 2/28/15, just in time for March Madness!

In anticipation of Ollie’s arrival, I designed a March Madness basketball quilt. My inspiration was the layout of Duke’s Cameron Indoor Stadium and the project became a lot easier to envision when I discovered that Robert Kaufman makes a basketball court fabric panel. Perfect for the center of the quilt.

I studied the stadium layout and used the seating arrangement for the patchwork pattern around center court. (Originally I thought I could follow the entire layout, but quickly realized I would end up with a king size quilt…a bit too large for a baby quilt.)

As for the color palette of the quilt, of course I would be using lots of Duke blue and white, including a Duke Blue Devils logo print. But I needed to add something else. The discovery of a basketball print led me to include several orange fabrics. Orange dimple dot minky (which looks a little like the textured surface of a basketball) was a natural choice for a soft, cuddly backing fabric.

Here is our little Cameron Crazy grandson on his quilt. He’s just one week old in this picture so I’d say he is definitely one of Duke’s youngest fans.

Ollie's first game day...trying out his Duke basketball quilt for the first time.

Ollie’s first game day…trying out his Duke basketball quilt.

After that picture was taken, I decided the finishing touch on the quilt needed to be an embroidered “Baby K Court” on two sides. (Their last name is Kelley.) I positioned the stitching strategically to mimic the “Coach K Court” wording on the court at Cameron.

20150320 206Let the Madness begin, Little Ollie. Go Blue Devils!

Tips for Making Baby Headbands

It’s hard to believe our granddaughter is 6 months old. She is growing so fast…including her head, which means that she has outgrown all her cute baby headbands. Last week I decided to take a day, pull out my stash of ribbons and buttons and embellishments, and make her a wardrobe of headbands. I created a total of 14 different styles – two weeks of stylin’ baby accessories.

Here she is ready to watch basketball, wearing her College Game Day bow!

Ready for College Game Day - Go Nova!

Ready for College Game Day – Go Nova!

And here are the 13 other headbands:

The Many Faces of Claire - and her Headbands!

The Many Faces of Claire – and her Headbands!

There is so much info online on how to make elastic baby headbands that I do not think I need to write a tutorial. But, I do have a few tips to make them fit a growing head a little longer.

Th 5/8″ fold-over elastic by Dritz is great for these types of headbands. It’s soft, easy to work with, and comes in lots of different colors and patterns. Most tutorials suggest taking a length of elastic, placing the ends right sides together, and sewing them together to make a seam. I find that a little bulky so I simply overlap the cut ends.

I start with a length of elastic cut to the size of baby’s head plus 1/2″. There are “standard” head sizes but our girl is off the charts (So smart, she is…gonna be brilliant in school!). I want to make sure the headbands will be big enough now and adjustable to last for awhile.

I overlap the ends 1/4″. Using a doubled thread in the needle, I hand slip-stitch one cut end in place.

Overlap the cut ends and stitch them together.

Then I sew the finished edges together along one side, sew back down the other cut end and across the opposite finished edges.Step2I take small stitches and make sure the ends are securely knotted. The desired bow or embellishment is sewn or glued to the outside of the headband, over the overlapped seam.

To make the headband adjustable to a growing head, I form a 1/2″ pleat by folding the elastic back on itself and securing it with a few small stitches. These stitches can then be removed when the headband gets a little snug. (I like to use contrasting thread so it is easy to see what stitches need to be snipped.)

Step3

When using crochet lace elastic trim such as the type I used for Claire’s College Game Day bow, I do sew a regular seam on the machine. But, I can still fold and hand stitch a little tuck to the inside of the headband to make it adjustable for a growing head. A large bow or embellishment will cover up the stitching.

Hopefully this group of headbands can be worn for several months. I have a feeling I will be making lots more. They are so quick and easy to make, and it’s so much fun to see her wearing them. A girl just cannot have too many accessories!

Let’s Go! Baby Projects to Sew

Our first grandchild is almost six months old and another grandchild is on the way any day now. So needless to say, I’ve been inspired to design baby quilts and baby projects to sew.

CanopyOpen&QuiltHere’s a peak at a car seat tent and tagged quilt that I just designed for the winter issue of Modern Quilts Unlimited magazine.

CanopyWindowOpenThe tent (or some folks call it a canopy) features a peak-a-boo window that can be closed for warmth and protection or can be opened to check on baby and provide ventilation. To keep it from getting too heavy, no batting is used. The tent is simply backed with flannel and lightly quilted.

Betsy&QuiltThe coordinating tagged quilt ties onto the car seat handles to keep it in place for the ride. Ribbon loops along all the edges are a fun and entertaining touch for a busy baby. And once you get to your destination the quilt can be used as a play mat. (MQU Editor Carol Zentgraf’s granddaughter, Betsy, gave both projects her approval!)

I fell in love with these fabrics from the “On Our Way” collection by Riley Blake. They are colorful, fun, gender-neutral and perfect for these projects. I was so excited to discover they had both flannels and quilting cottons in the group.

Winter15CoverCheck out the Winter 2015 issue of Modern Quilts Unlimited, pages 38-45 for all the details and complete instructions.