Sprinkling Before Ironing……Who Remembers Doing That?

Who remembers having to sprinkle clothes before you could iron them?  Perhaps you are so young that you have no idea what that means.  At the risk of sounding as old as dirt, sprinkling was something my mom did every week on ironing day (Yes, she did have specific chores assigned to specific days each week.) Being a kid at the time, her asking me to do any chore was usually followed with a heavy sigh and some excuse about homework, not feeling well, etc.  However, sprinkling was one thing I kinda liked doing.  What’s not to like?  Give a kid a squeeze bottle full of water and tell her to sprinkle the water onto the wrinkled clothes, then roll them up into a ball and put them into a bag.  Much more exciting than dusting or drying dishes.

I recently found myself remembering the days of sprinkling.  Over the past several weeks, I’ve been preparing for a Nancy Crow Strip-Piecing and Restructuring workshop that I’ll be taking next week.  I am so excited!  I have always wanted to study with Nancy and was thrilled when I found out I could get into this class.  The supply list includes lots and lots of one yard cuts of solid fabrics – a full range of values in all colors.  And…she asks that the fabrics be washed and dried to take care of any shrinkage.  Really??  OK.  Being the obedient student that I am, I have have spent hours washing and drying more than 100 one yard lengths of fabric.

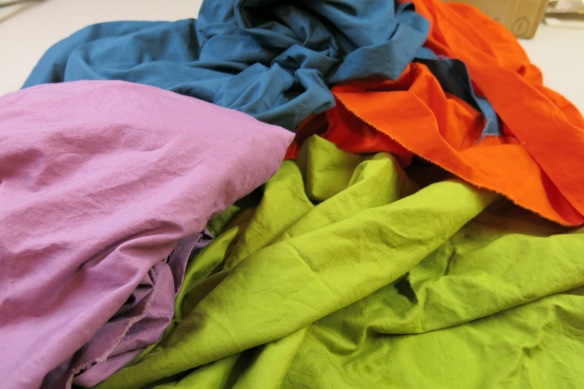
Washed, dried and wrinkled.

Washed, dried and wrinkled.

Now, when 100% cotton quilting weight fabric comes out of the dryer, it is a wrinkled mess.  It’s interesting that some fabrics are worse than others, but none the less, it is all wrinkled and must be ironed.  And despite my now having a deluxe steam iron that wasn’t available 50 years ago, I found that the fabrics just didn’t press out nice and smooth.  So it was time to sprinkle.  I started out using an empty spray bottle, but it wasn’t long before I realized that this was going to be time consuming and a bit hard on my trigger finger.  And then the bottle just stopped spraying.  Wondering what to use for the task, I remember that I had brought the “sprinker” bottle from my mom’s house and tucked it away with some other miscellaneous “antiques”.

Mom's trusty yellow plastic "sprinkler".

Mom’s trusty yellow plastic “sprinkler”.  Love that it looks like a giant wooden clothes pin.

So I filled up my little yellow “sprinkler” and I felt like I was 6 again.  Best part was that it was so easy to use.  The bottle is still soft and the water comes out easily.  Much better than my modern spray bottle.
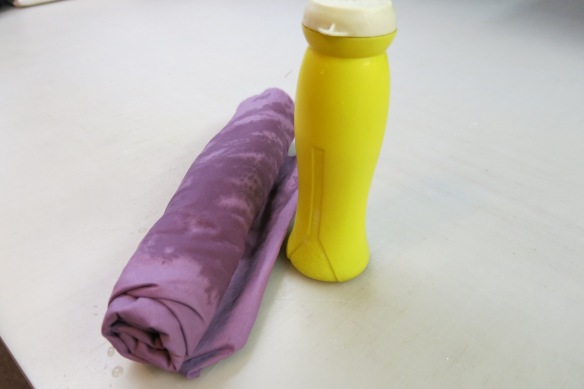
Sprinkled fabric rolled up and ready to sit in a plastic bag for a few hours.  Back in the day, the rolls might have been put into the refrigerator to keep the fabric from becoming mildewed and smelly.

Sprinkled fabric rolled up and ready to sit in a plastic bag for a few hours. Back in the day, the rolls might have been put into the refrigerator to keep the fabric from becoming mildewed and smelly.

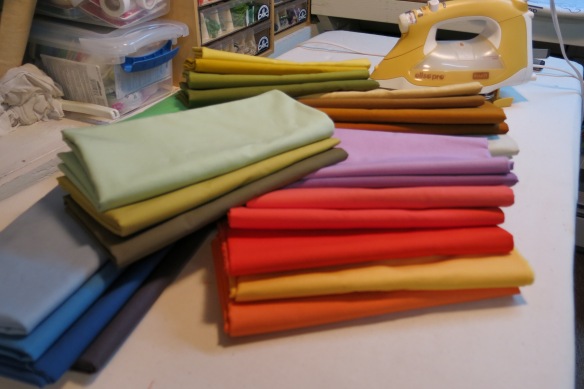
And after letting the fabrics sit for a few hours, ironing was so much easier.  Good bye wrinkled fabric.

Pressed and smooth.

Pressed and smooth.

Now I am ready to go to my workshop – all washed, dried and ironed.IMG_1413
You can find “sprinkler” bottles on ebay and there are images and articles online about the antiquated sport of “sprinkling”.   I just think it is very cool that something so simple that I grabbed from my mom’s house turned out to be so helpful, and using it brought back a flood of memories.  I think my mom would have gotten quite a kick out of the fact I was sprinkling again.  But I still do not like to dust or dry dishes.

Something Old & Something New Wedding Pillow

Turns out I am the keeper of our family’s textile treasures.  I have drawers and drawers full of beautiful vintage linens, fabrics, ribbons and trims that at one time were lovingly handmade and used by past generations in our family.  Although some things are not in great condition, I have saved each little bit knowing that one day I would find the perfect use for them.  So when my niece got married last month, I knew it was a wonderful chance to work with my stash and make her and her husband a little gift to remember her family.

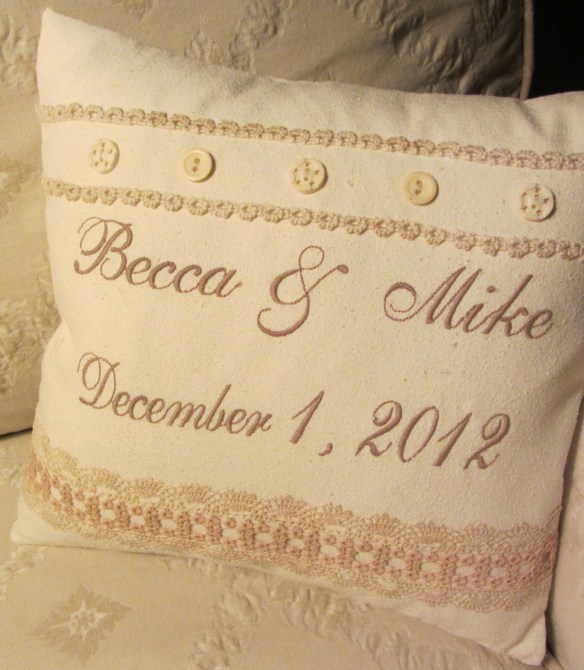
Machine Embroidered Wedding Pillow with Vintage Tatting and Buttons

Machine Embroidered Wedding Pillow with Vintage Tatting and Buttons

But unlike ladies of the past who spent hours making tatted and crocheted lace by hand, I had waited to the last minute to make this gift and was short on time to get it finished.  Let’s hear it for today’s technologies!  Working with my computer and machine embroidery software, I typed out the bride and groom’s names, transferred it to my sewing machine, threaded up the machine and stitched it onto a piece of raw silk fabric that great-gran must have used for curtains.  I washed the fabric before stitching the embroidery as I wanted to make sure the finished pillow could be cared for easily in the future.  The washing softened the fabric and brought out the texture of the weave.  A nice contrast to the cotton embroidery thread.

Machine embroidery done (so much faster than stitching by hand!) and ready to clip the threads.

Machine embroidery done (so much faster than stitching by hand!) and ready to clip the threads.

I found a gorgeous strip of tatted lace that was still attached to part of a silk chemise top.  It was one of the shoulder straps.

Tatted Lace Shoulder Strap on Silk Chemise Top

Tatted Lace Shoulder Strap on Silk Chemise Top

The silk fabric was very fragile and falling apart but the lace was in great shape.  So I carefully clipped it from the fabric and washed it by hand.  After it was dried and pressed, it was even more beautiful.

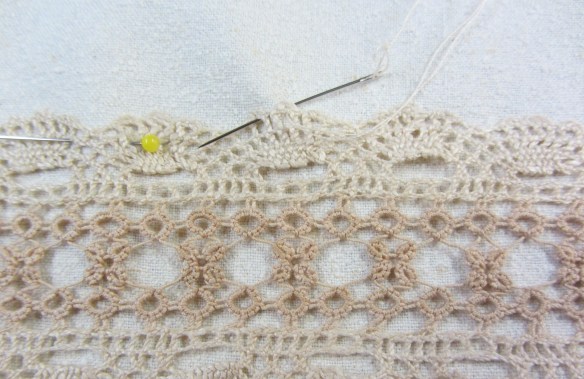
LaceDetailI hand stitched the lace below the embroidery…StitchingLace

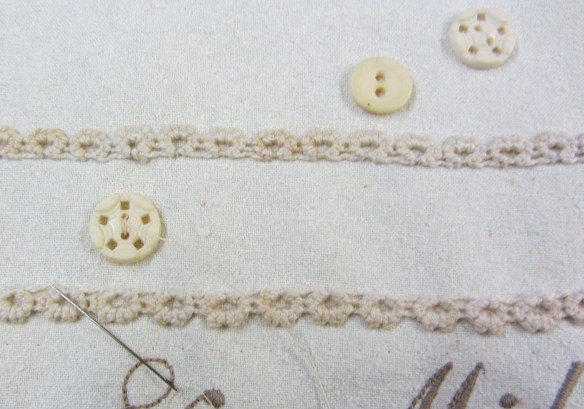
…added a two more rows of narrow tatting above the embroidery….

Another modern tool makes sure my top rows of lace are straight and evenly positioned.

Another modern tool makes sure my top rows of lace are straight and evenly positioned.

…and sewed on a few vintage buttons from my stash.

Buttons

Didn’t take much time to then make the pillow cover and insert the pillow form.

As I worked on this project, I kept thinking of the talented ladies in generations past and what they would have thought of all the tools and technology we have at our fingertips today.  I am so glad that my husband’s great aunt had the patience and passion to make such beautiful lace and I feel honored that I could use it again to make a little reminder of how much family is part of the fabric of our lives.

Congratulations to Becca and Mike!  Many years of happiness.

Love, Aunt Elaine