I have a new design wall! Here it is with some sample pieces I started in a Sue Benner composition workshop back in January.
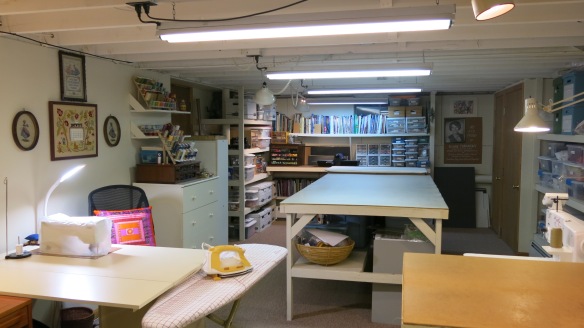
I have wanted a design wall for the longest time. I just had one problem….I don’t have an empty wall anywhere around my studio. I have crammed in as many shelves, storage units, and furniture pieces in there that ever inch of available wall space has been used. (There is the back of the closet door, but that isn’t wide enough.)
I decided that the best solution would be a portable design wall that could move as needed. I did some online research and saw many clever approaches from pull-down design walls to free-standing units that pop-up and can then be folded back into a storage bag. I decided a simple, very light weight, flannel-covered board would work well for me.
 I have one large area in my studio with long shelves full of boxes of supplies. I don’t need to get into those boxes every day so I figured I could place a design wall over them and then move it aside should I need to find something in one of the boxes. Here’s what I did:
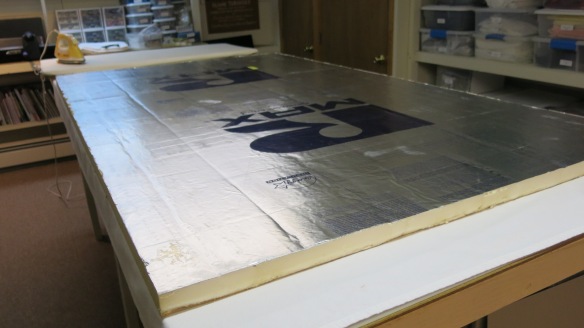
– With the help of a contractor friend, I started with a standard 4′ x 8′ size piece of 1 1/2″ thick insulation foam. (It helps to have a friend with a truck at this point unless your car is much bigger than mine.) Since the ceiling in my studio is not very high, I had to trim the board a bit so it would be just the right height to rest against the shelves and fit under the ceiling beams. It’s made of foam and is easy to cut with a straight edge and utility knife.
 – I decided a white flannel twin size flat sheet would make a good cover for the board. Since it was a new sheet, I washed and dried it to remove the folding wrinkles and to soften up the nap of the flannel. I laid it on a flat surface (Luckily I have my big table, but the floor would do if your knees and hips are more flexible than mine.)
– I wiped off the surface of the insulation board with a spray all-purpose cleaner and paper towels. (I discovered this was necessary the hard way. I didn’t realize how dirty the board was until I fist placed it on the sheet. Home Depot is a dusty place.)
 – The board was centered onto the sheet. There is bold writing on the back of the board so make sure to put the plain side down so the lettering doesn’t show through the fabric on the front.
 – I folded the top and back edges of the flannel over the board, using a little temporary adhesive to help me stretch and hold the fabric taut. Then I angled T-pins into the foam to hold the edges securely.
 – Working from the center of each side, I folded and pinned the excess fabric at the sides to the back of the board. I tried to neatly miter the fabric at the corners but I wasn’t fussy. No one is going to be looking at the back.
– I leaned the covered board against the shelves and it’s perfect…light weight yet sturdy, and I can easily move it off to the side to get anything I need on the shelves behind it. And should it get dirty or full of threads, I can quickly unpin the flannel, wash it and put it back on the board.
I love my new design wall. It was so easy to make. Now to the fun part….designing!


