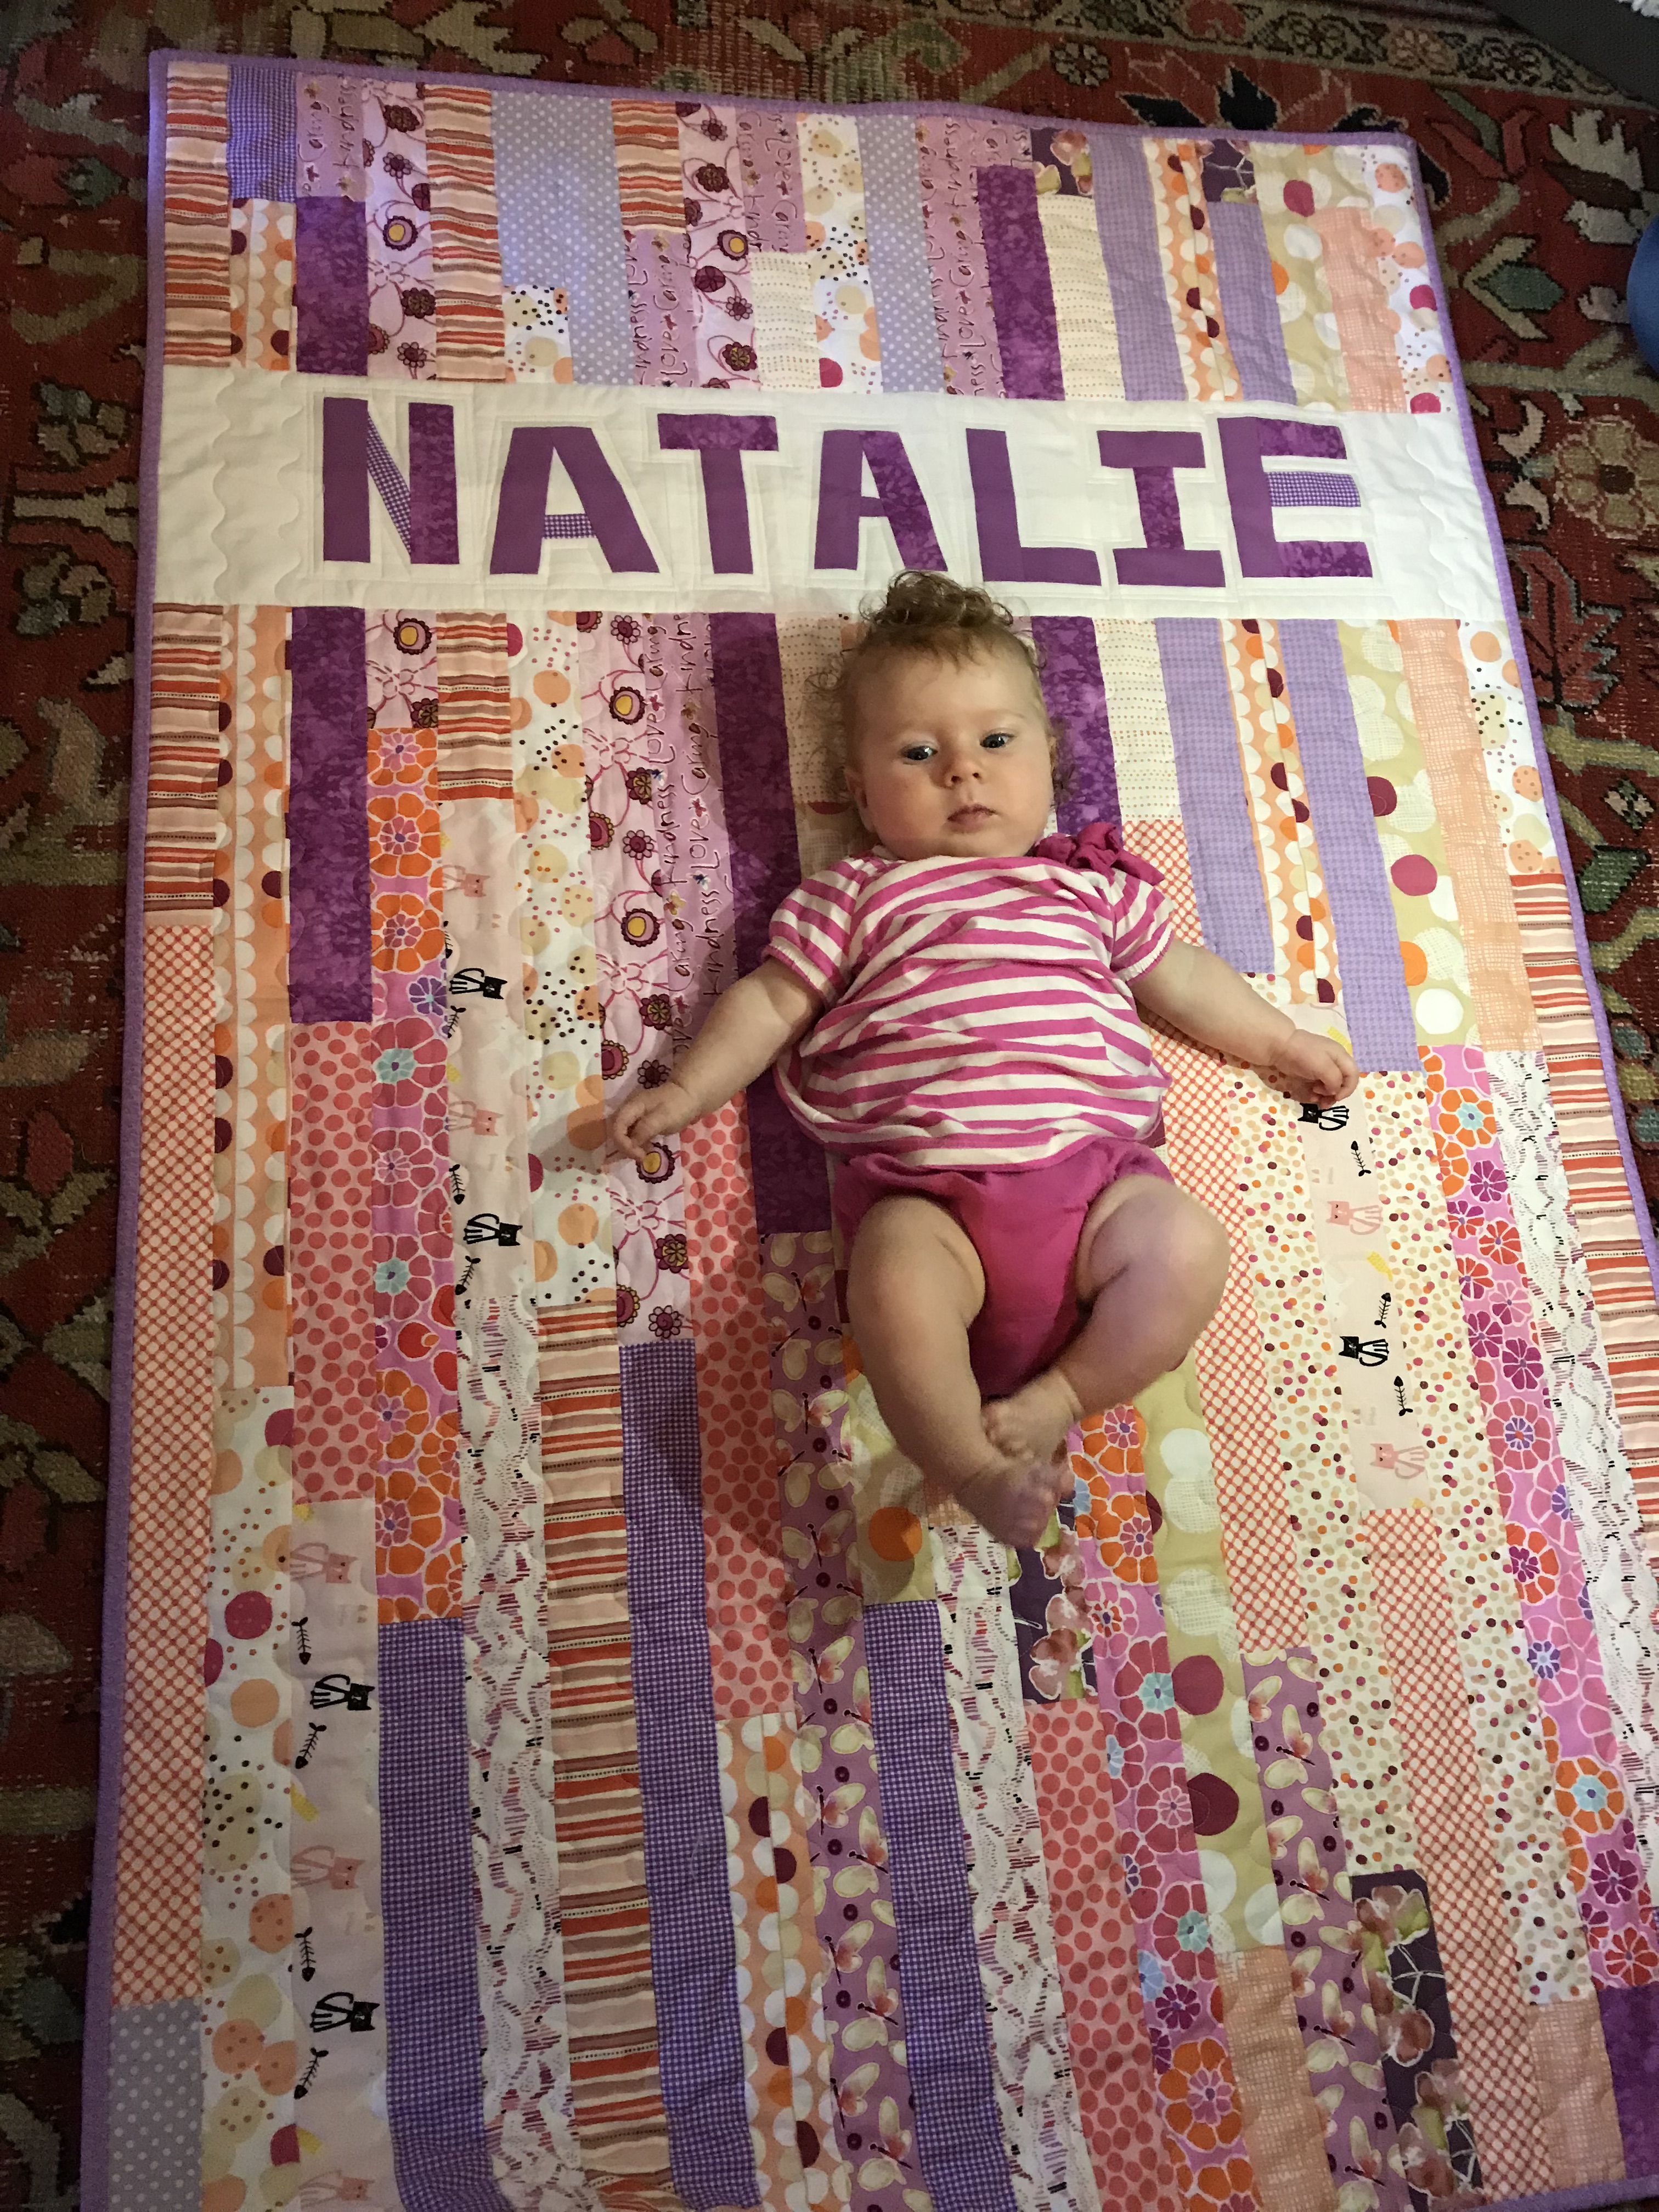
A few years ago I made a quick and easy T-shirt quilt for my daughter Emily, and I recently made a coordinating one for her hubbie, David. It’s was a great way to use T-shirts that were full of memories and just too special to toss. (It also got rid of that box of old T-shirts sitting in a crowded corner of their apartment.)
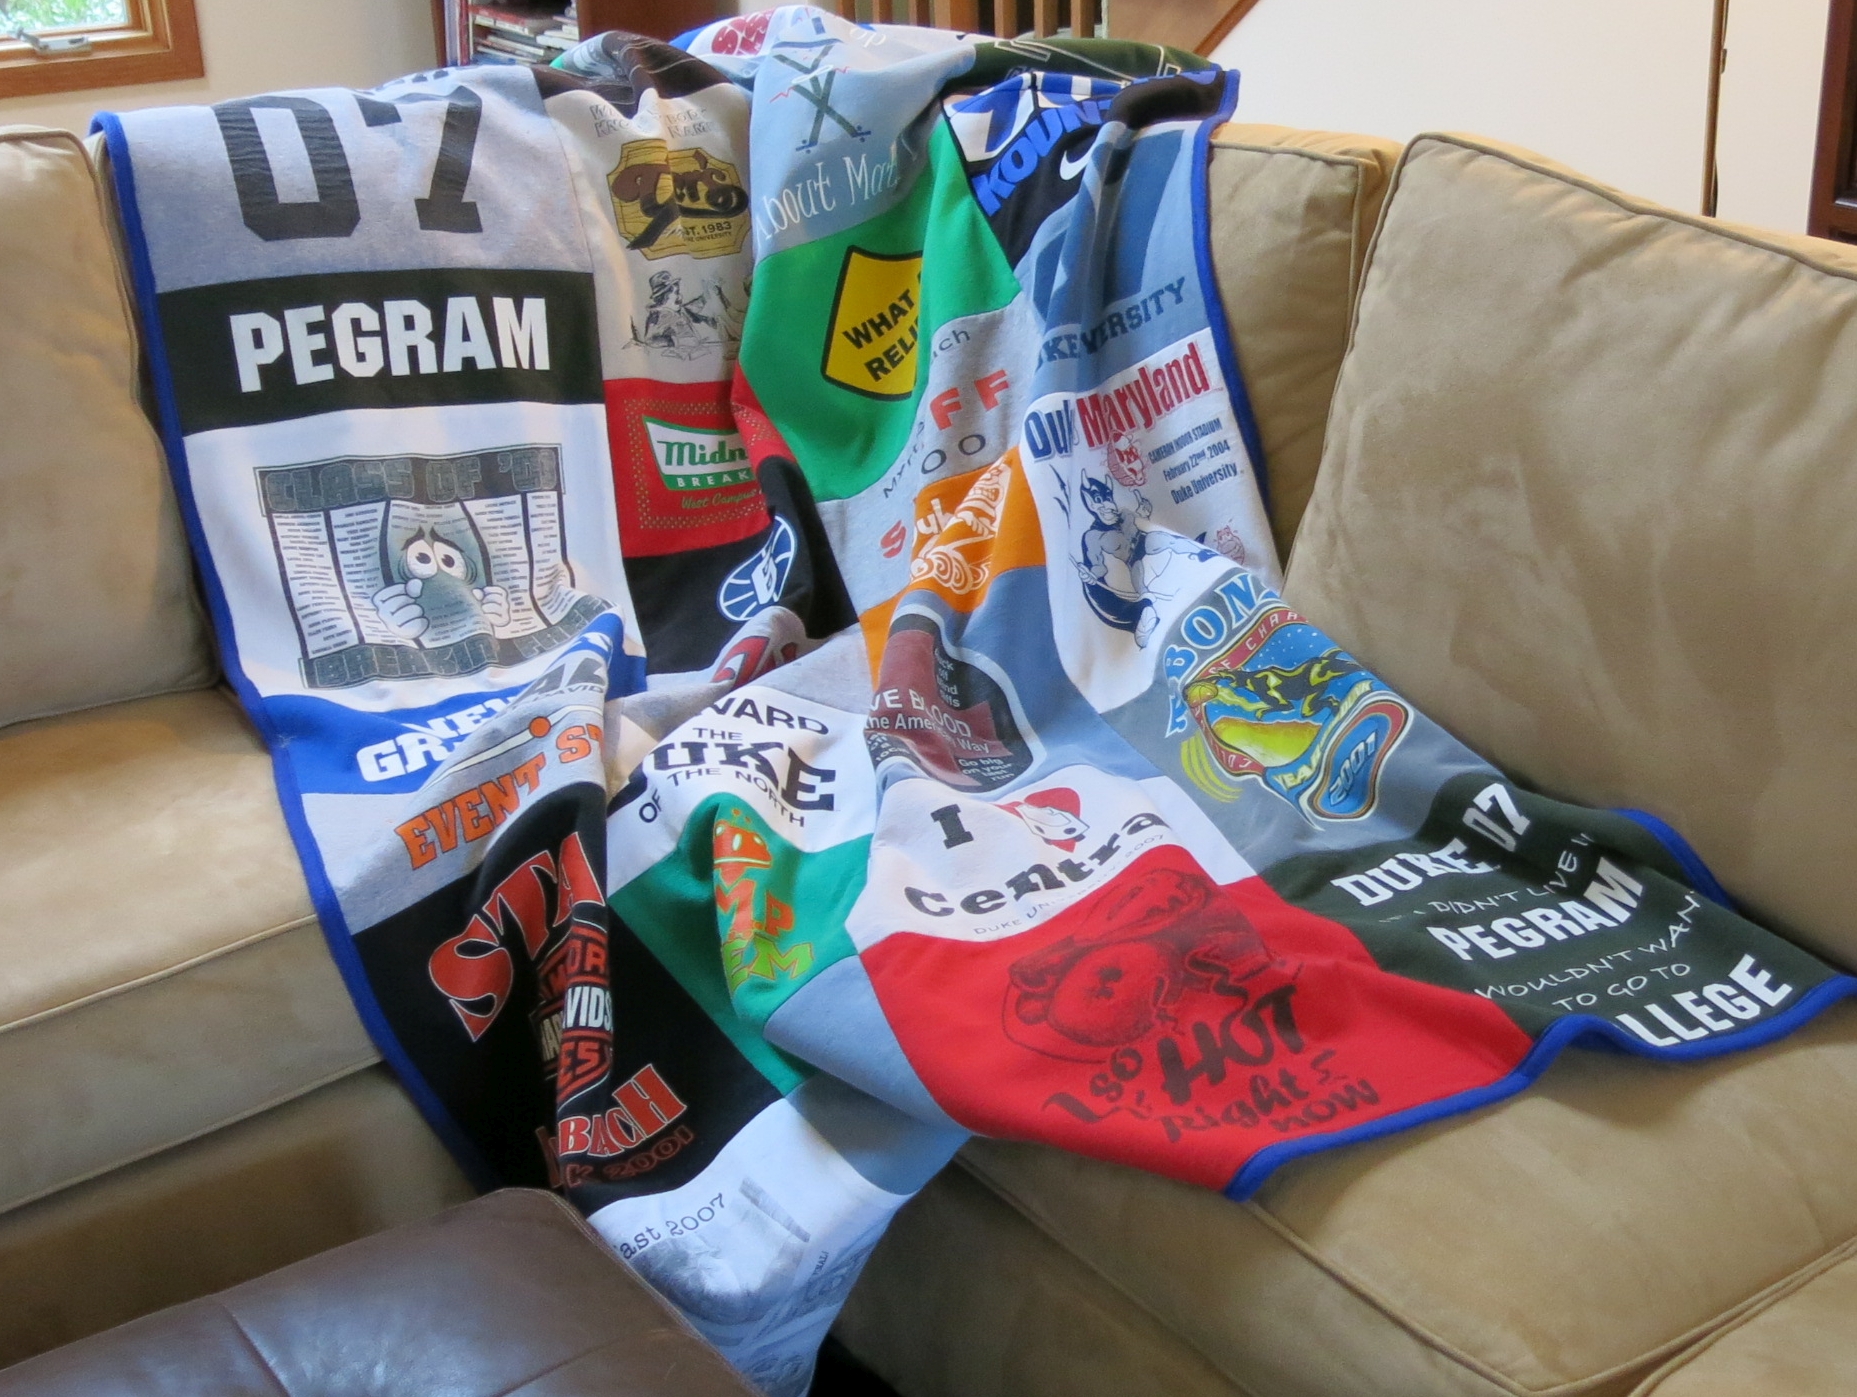
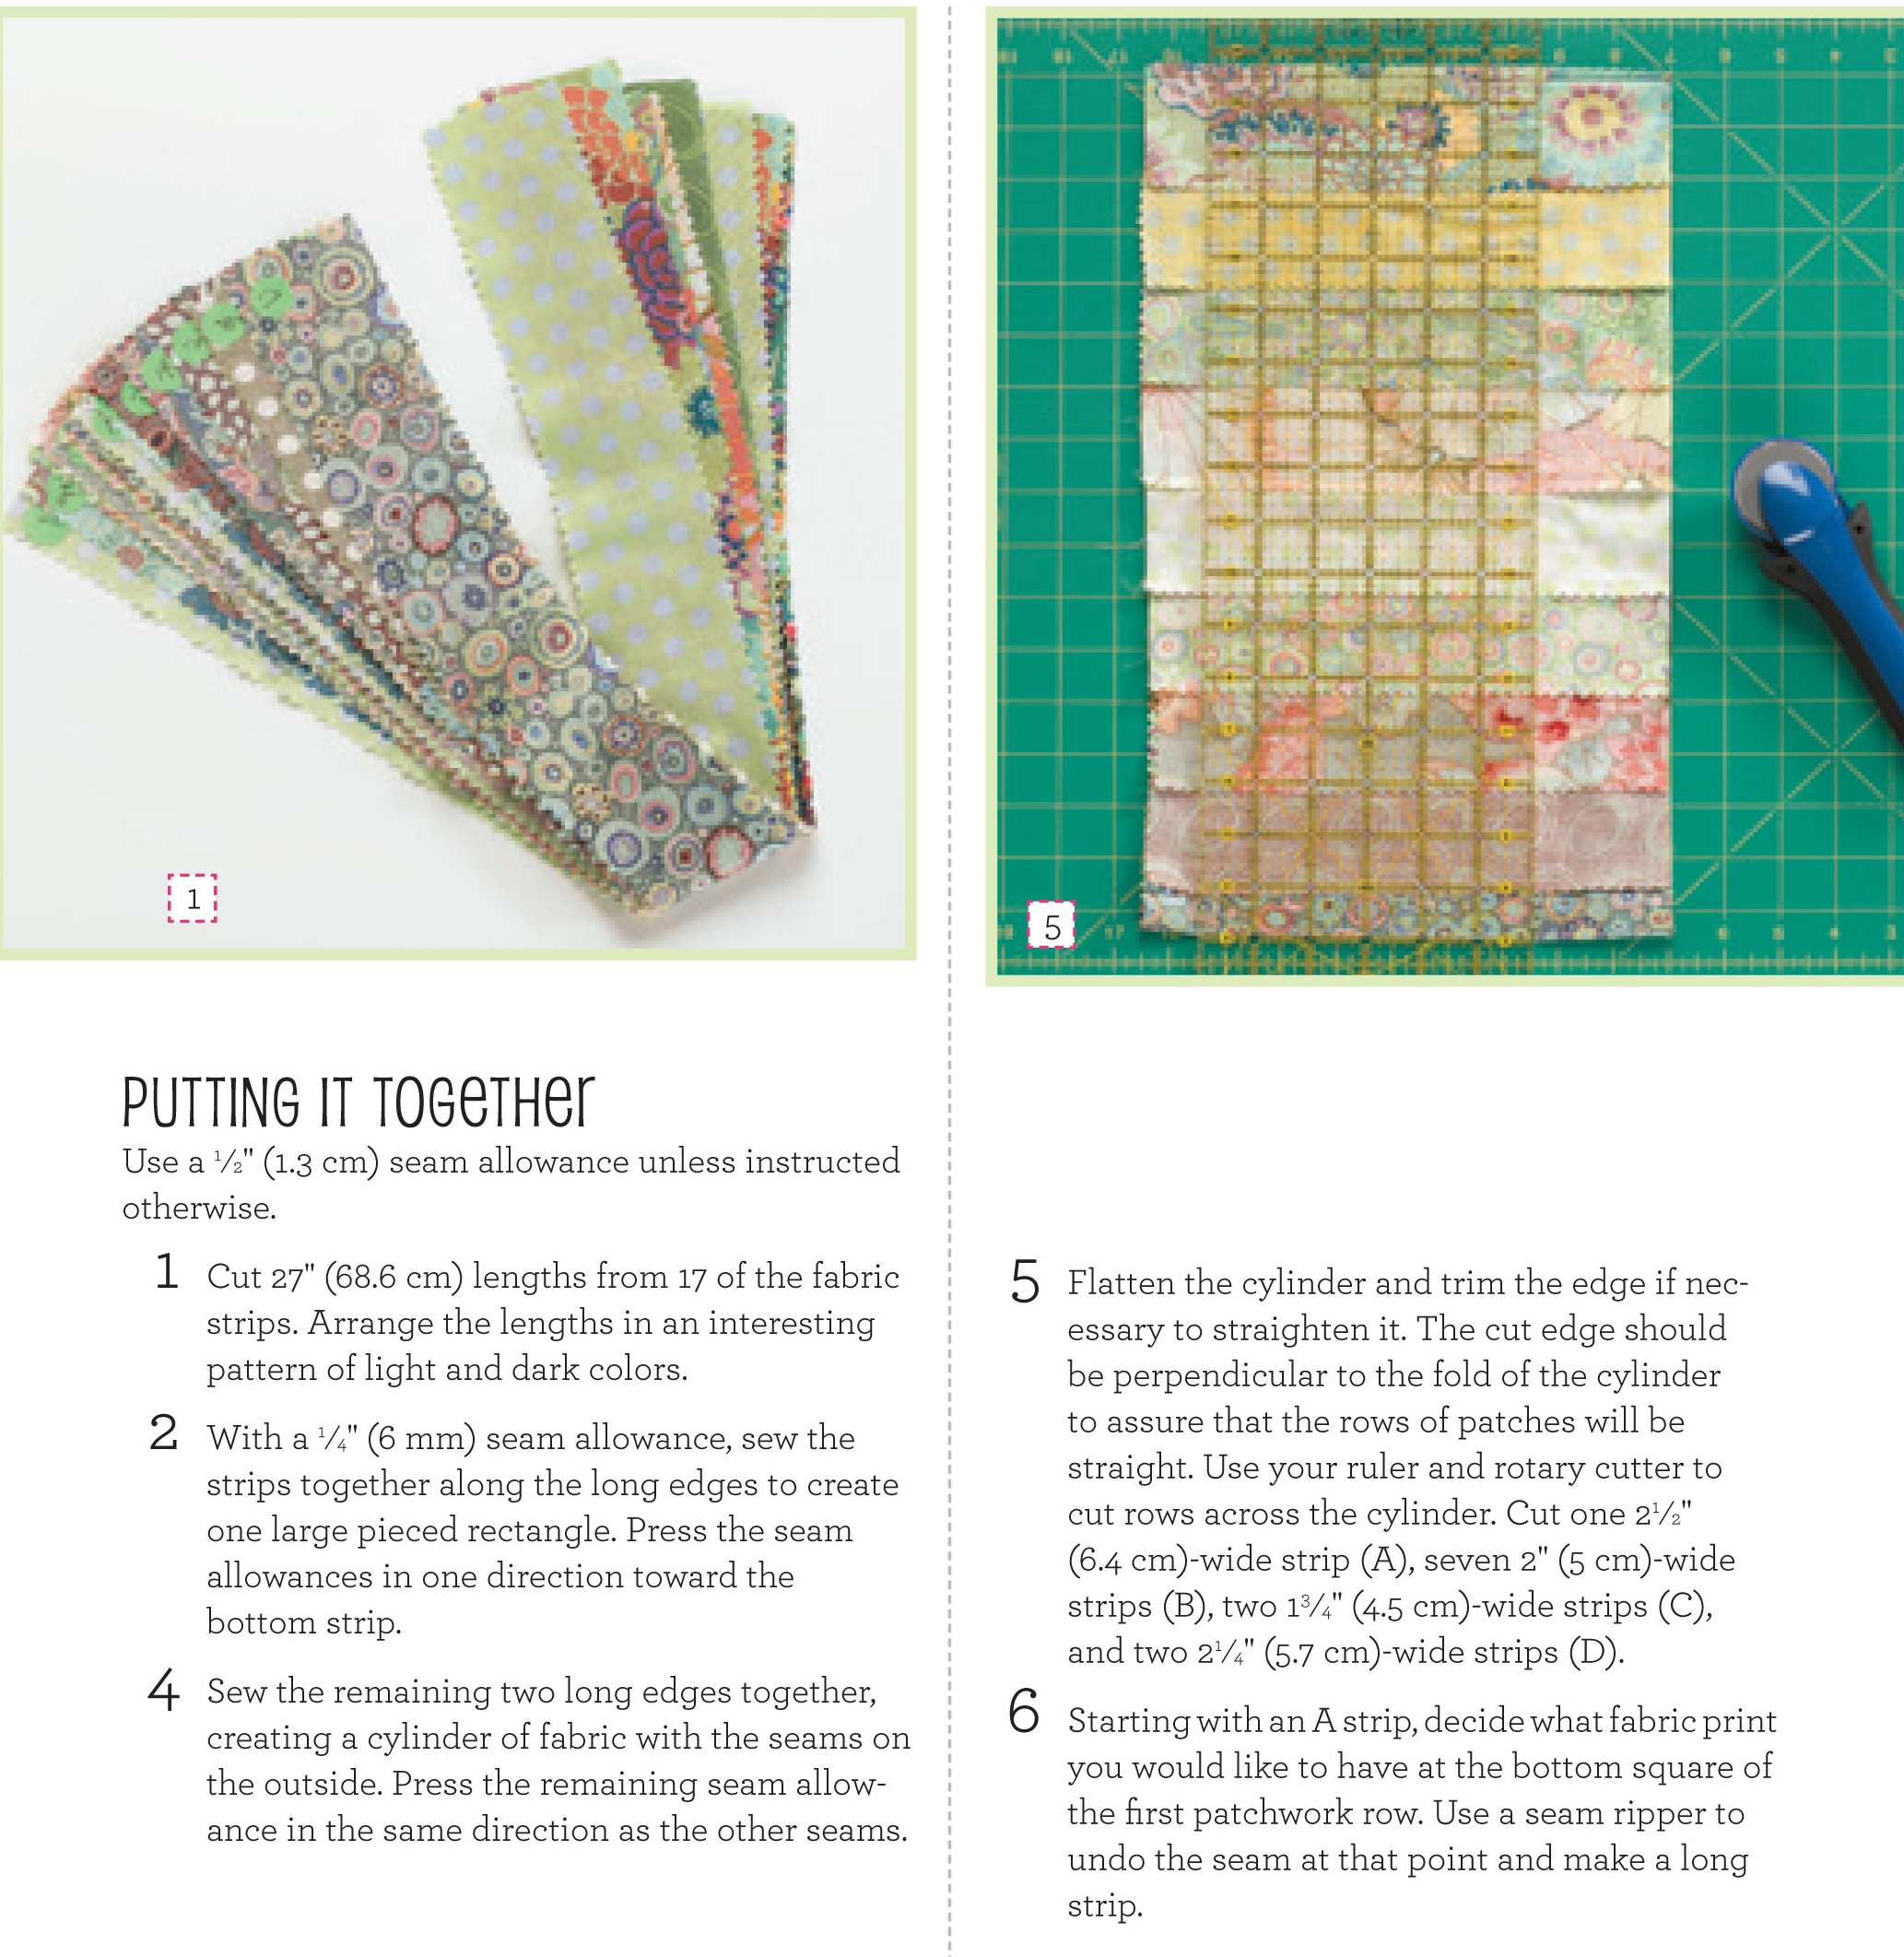
David’s T-Shirt “Quilt”
By definition, a quilt is made up of 3 layers – top, batting, and backing. I hesitate to call this a quilt since it does not have a batting middle layer. The top is the patchwork of T-shirts and the backing is polar fleece. I didn’t feel the need to add any batting. So if you are a member of the quilt police, you an call it a throw or a blanket or a “quilt” (with quotes).
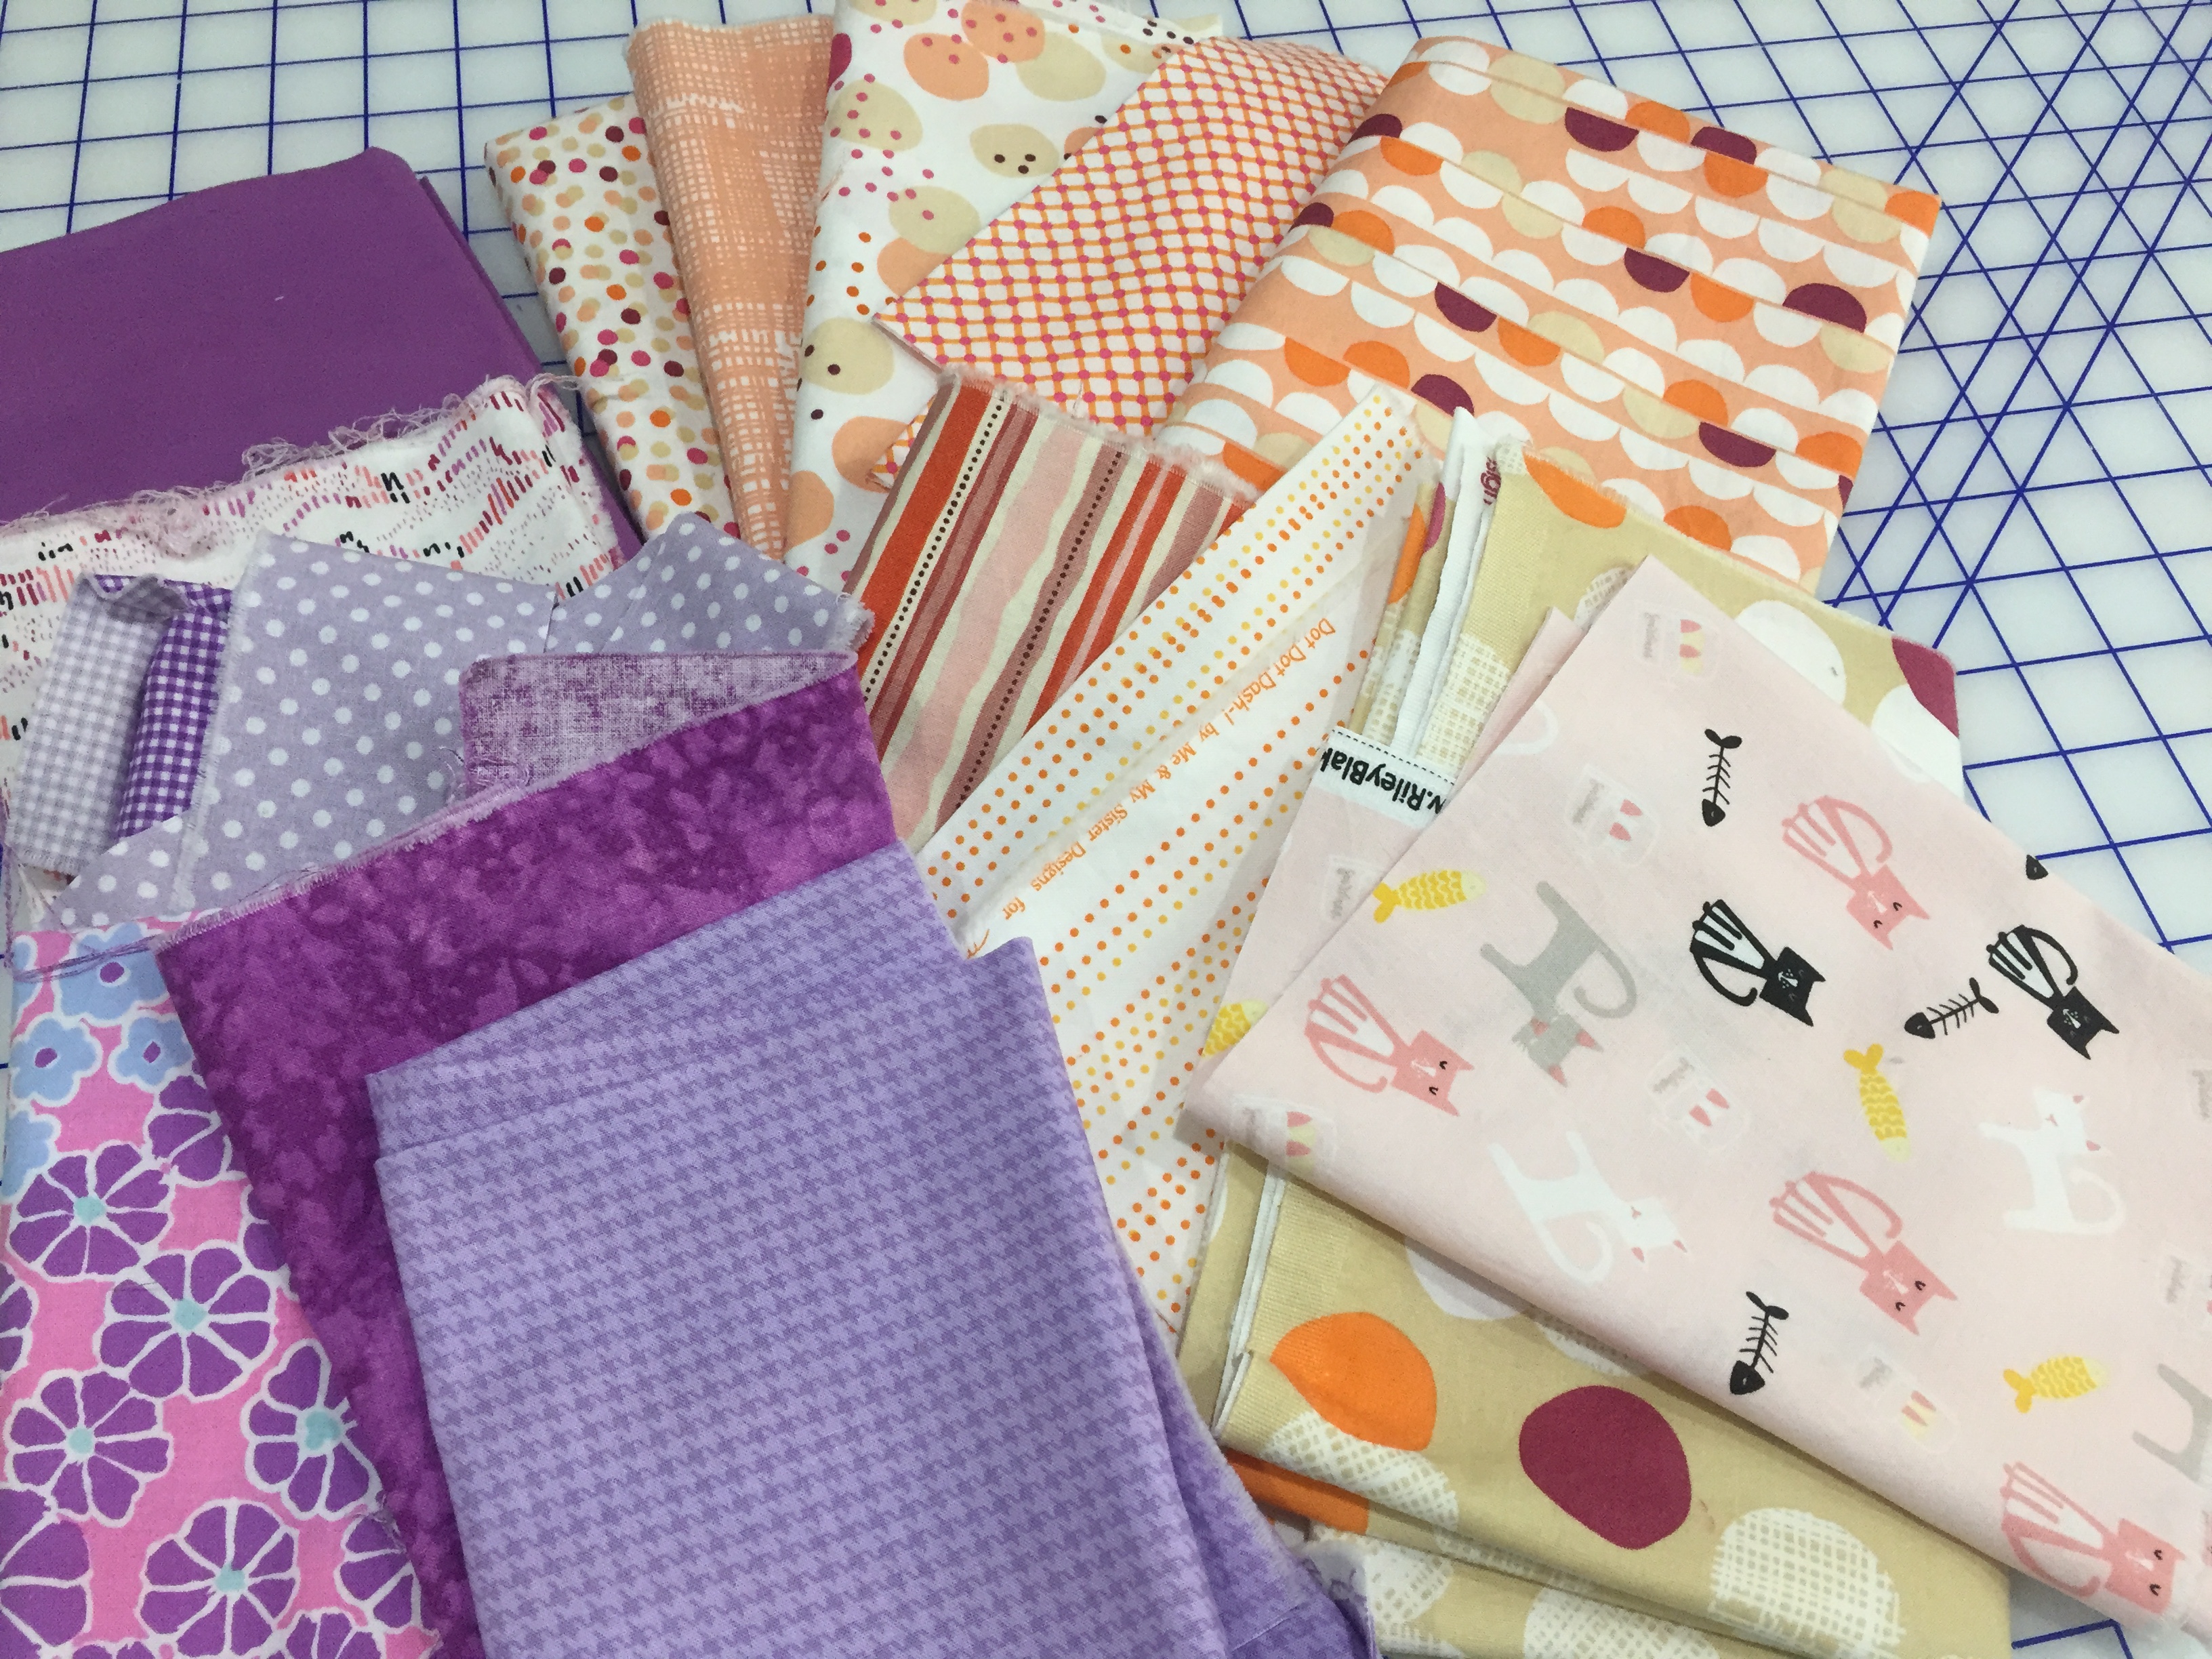
I began by separating the T-shirts into four groups, based upon the width of the printed images I wanted to use. Then I cut off the sleeves and a sliver off the sides and the neck openings to rough cut each shirt into a square or rectangle. I divided the pieces into four groups that would become the four vertical columns of my finished quilt. I determined that the finished columns would be 16″, 11″, 14″, and 12″ wide so as to use as much of the printed T-shirts as possible. I calculated how long each finished rectangle would have to be to end up with four columns about the same length. I moved a few pieces around until the measurements worked. To the width and length measurements of each square or rectangle I added about 2″ extra for trimming and seam allowances.
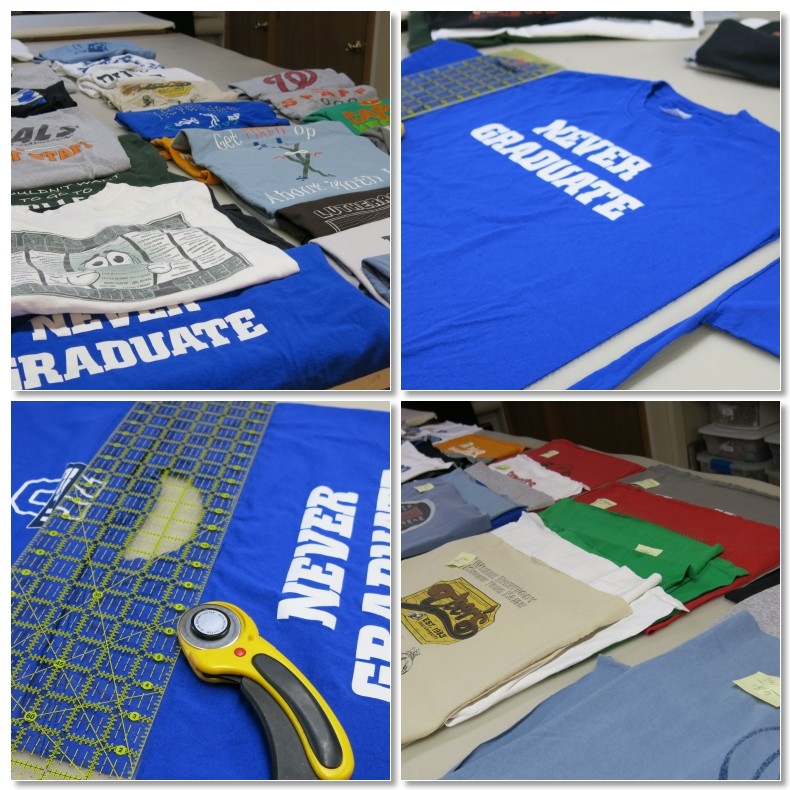
Organizing T-shirts and rough cutting them into rectangles.
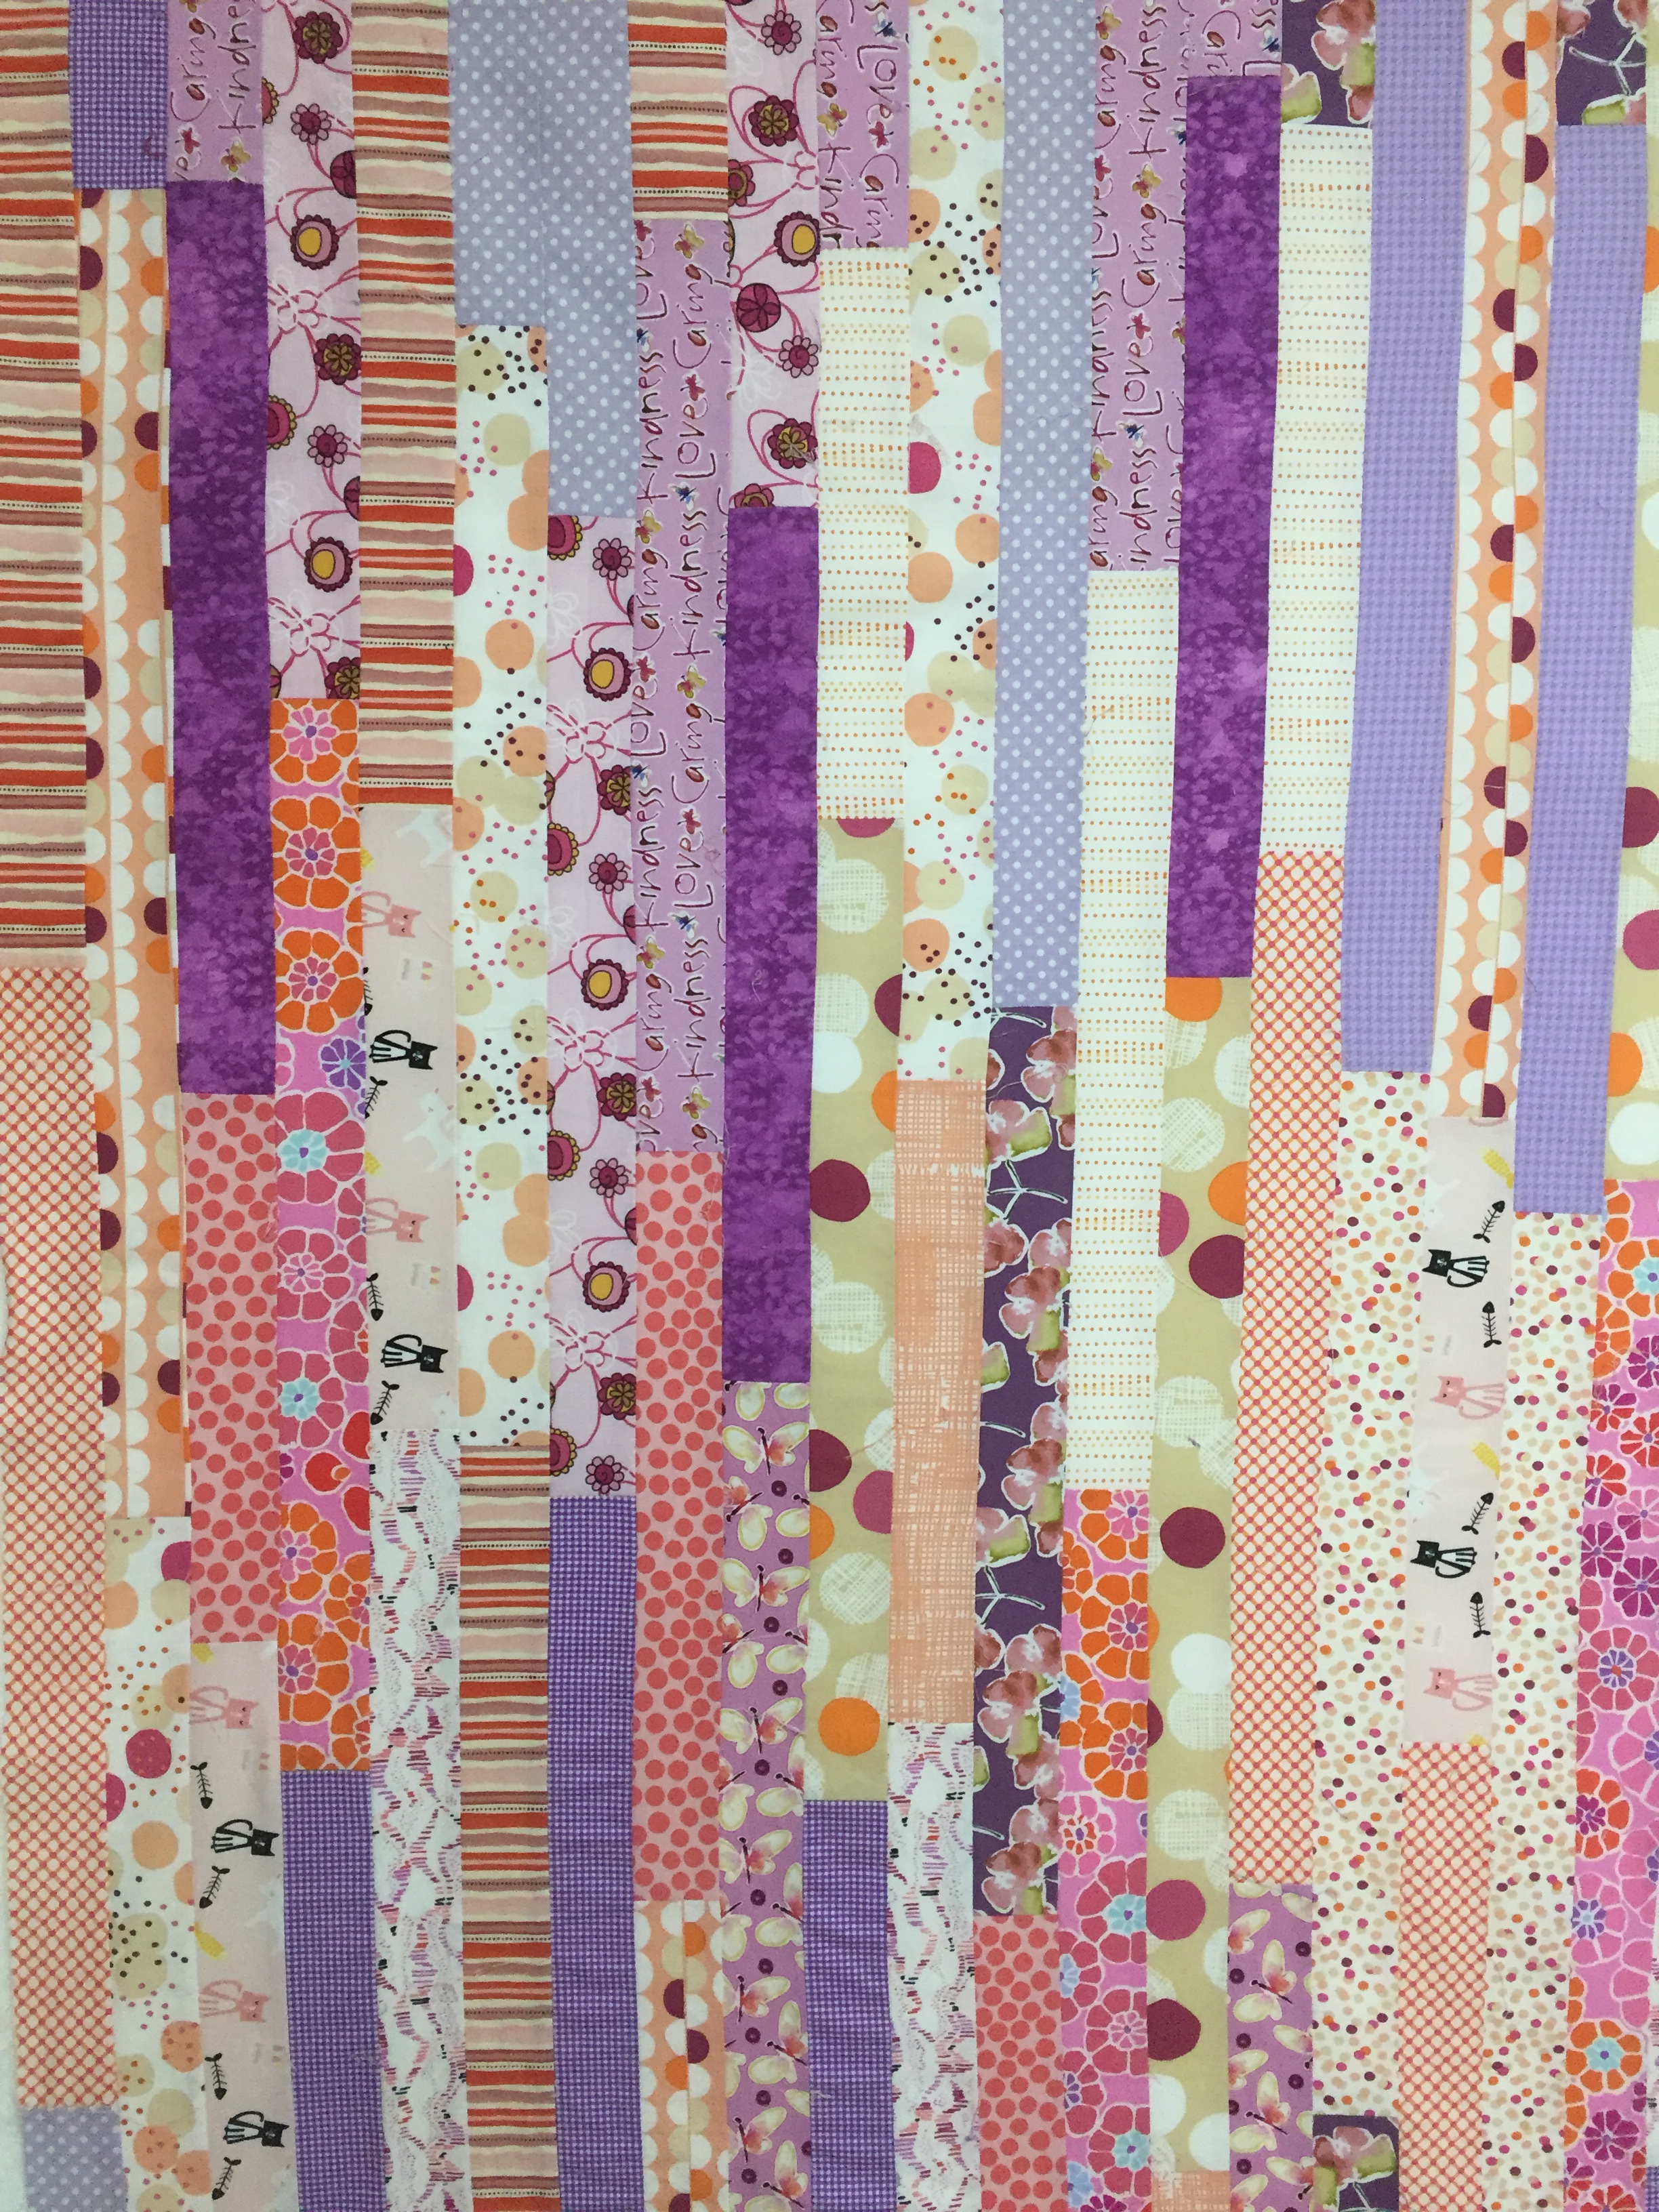
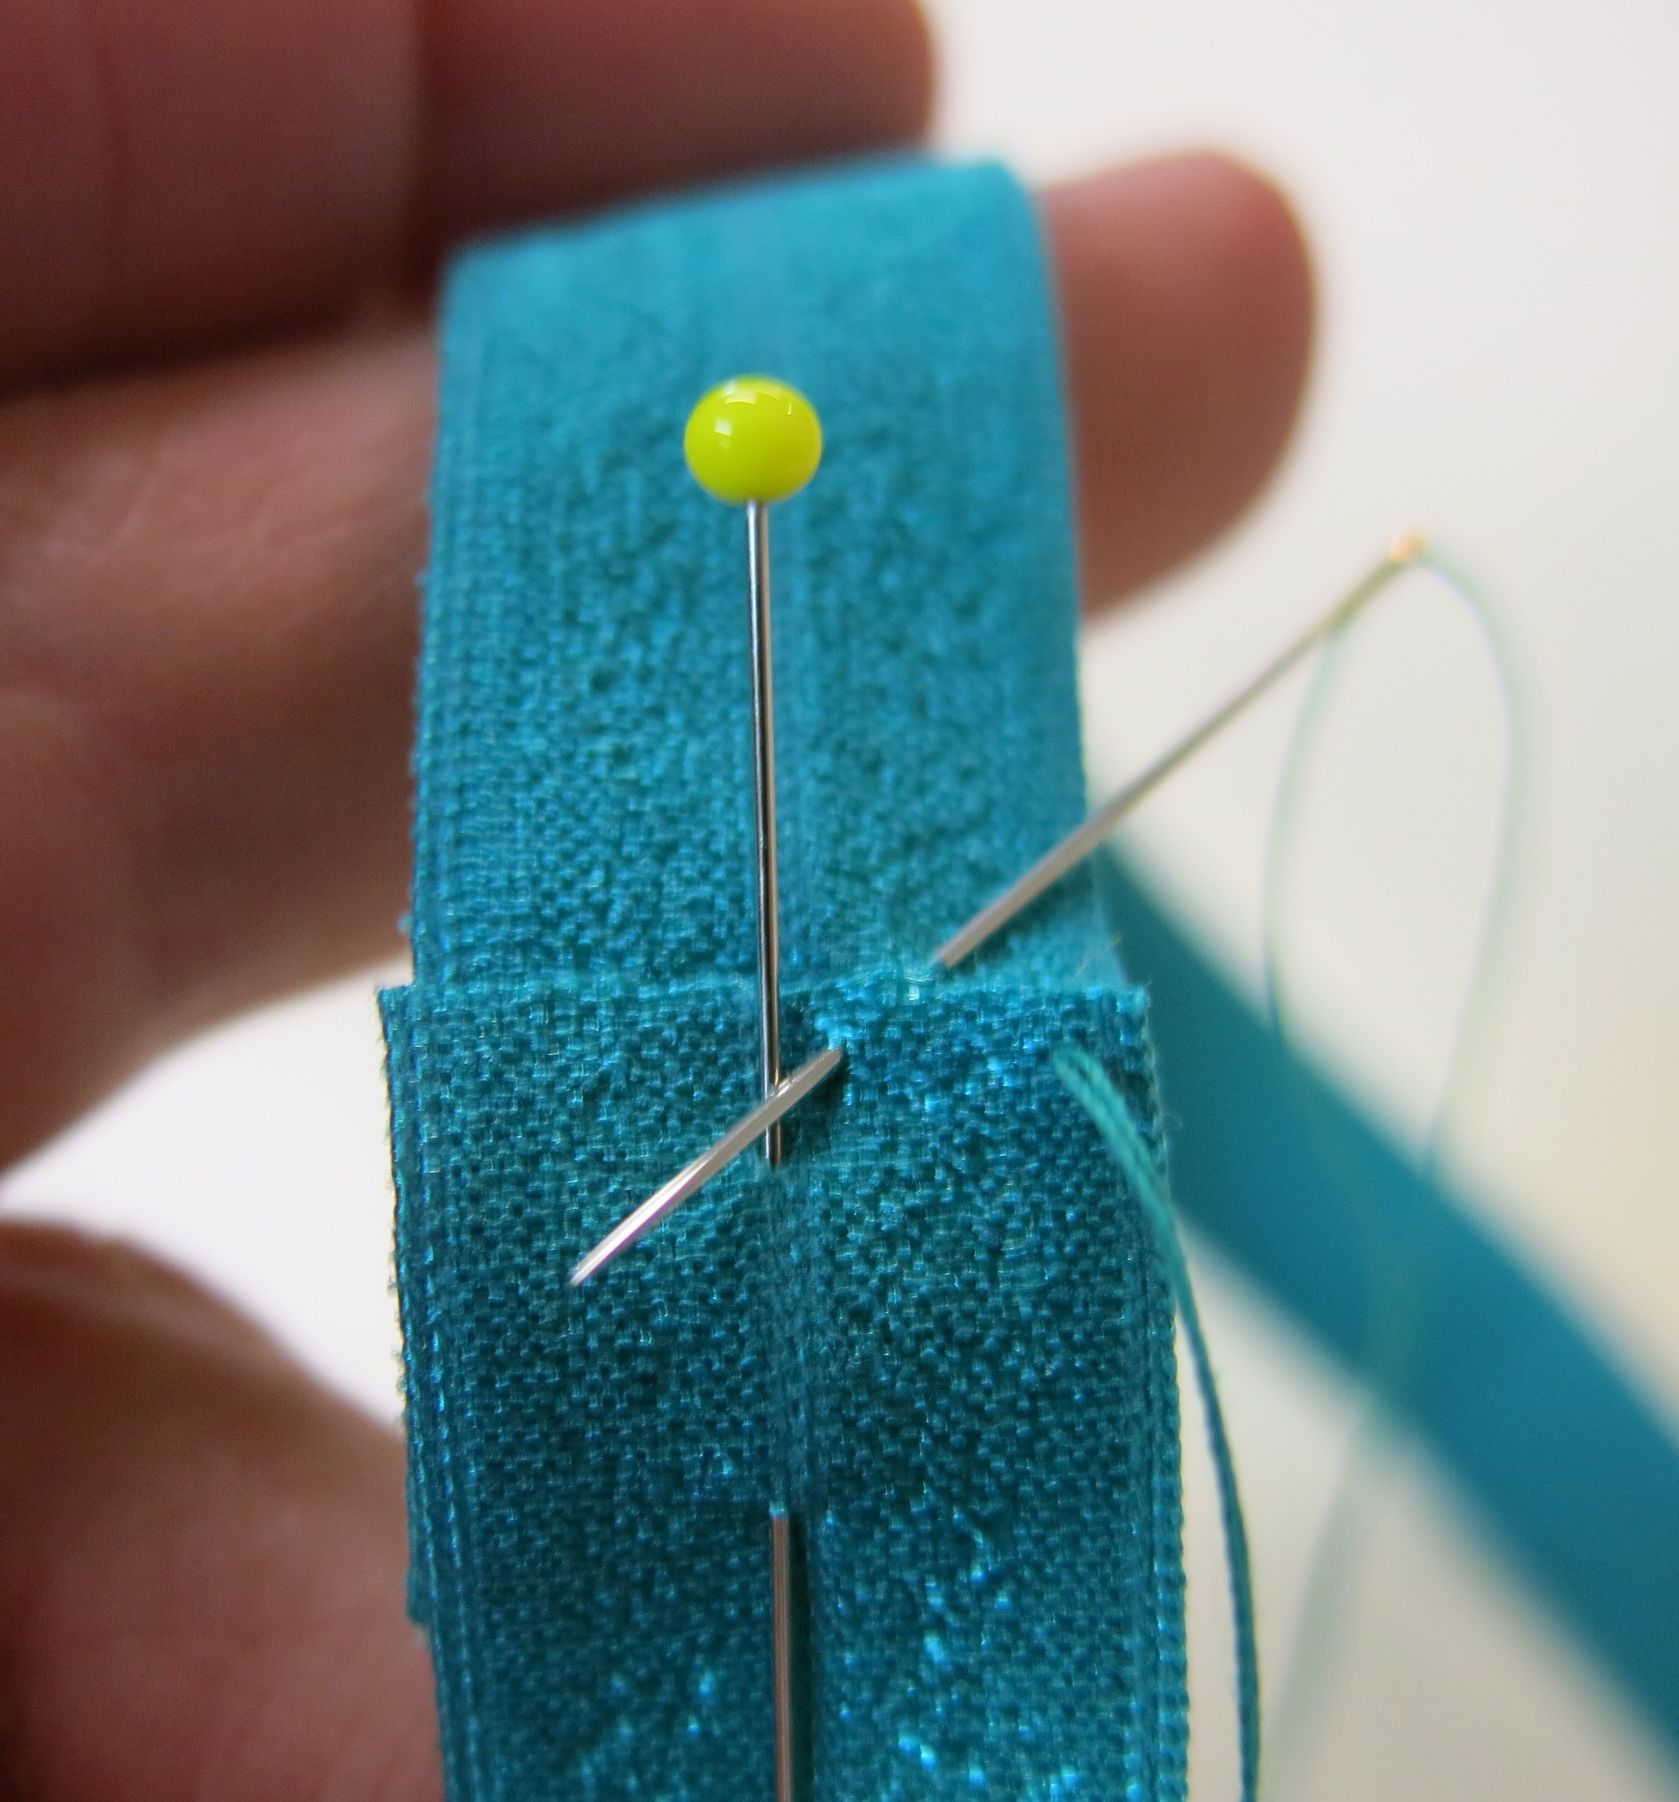
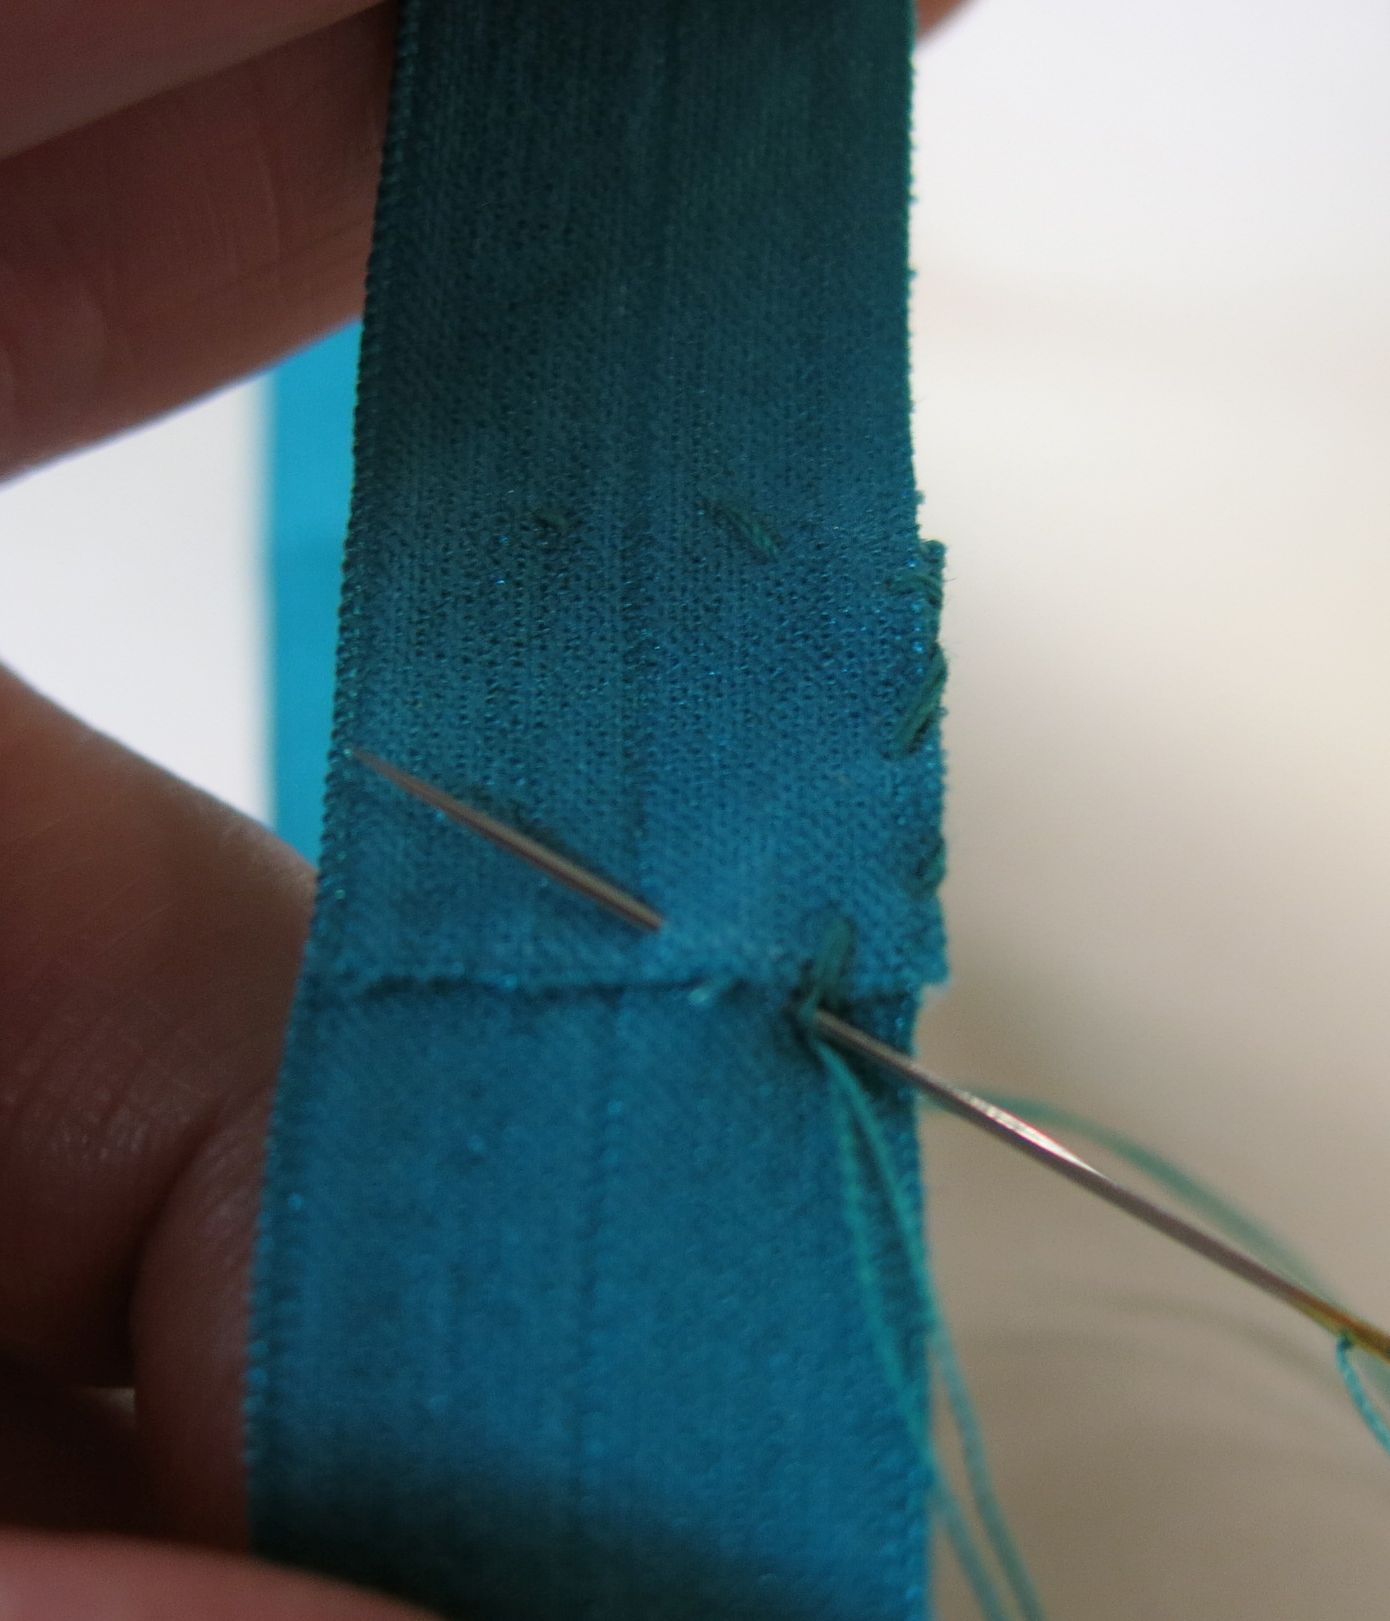
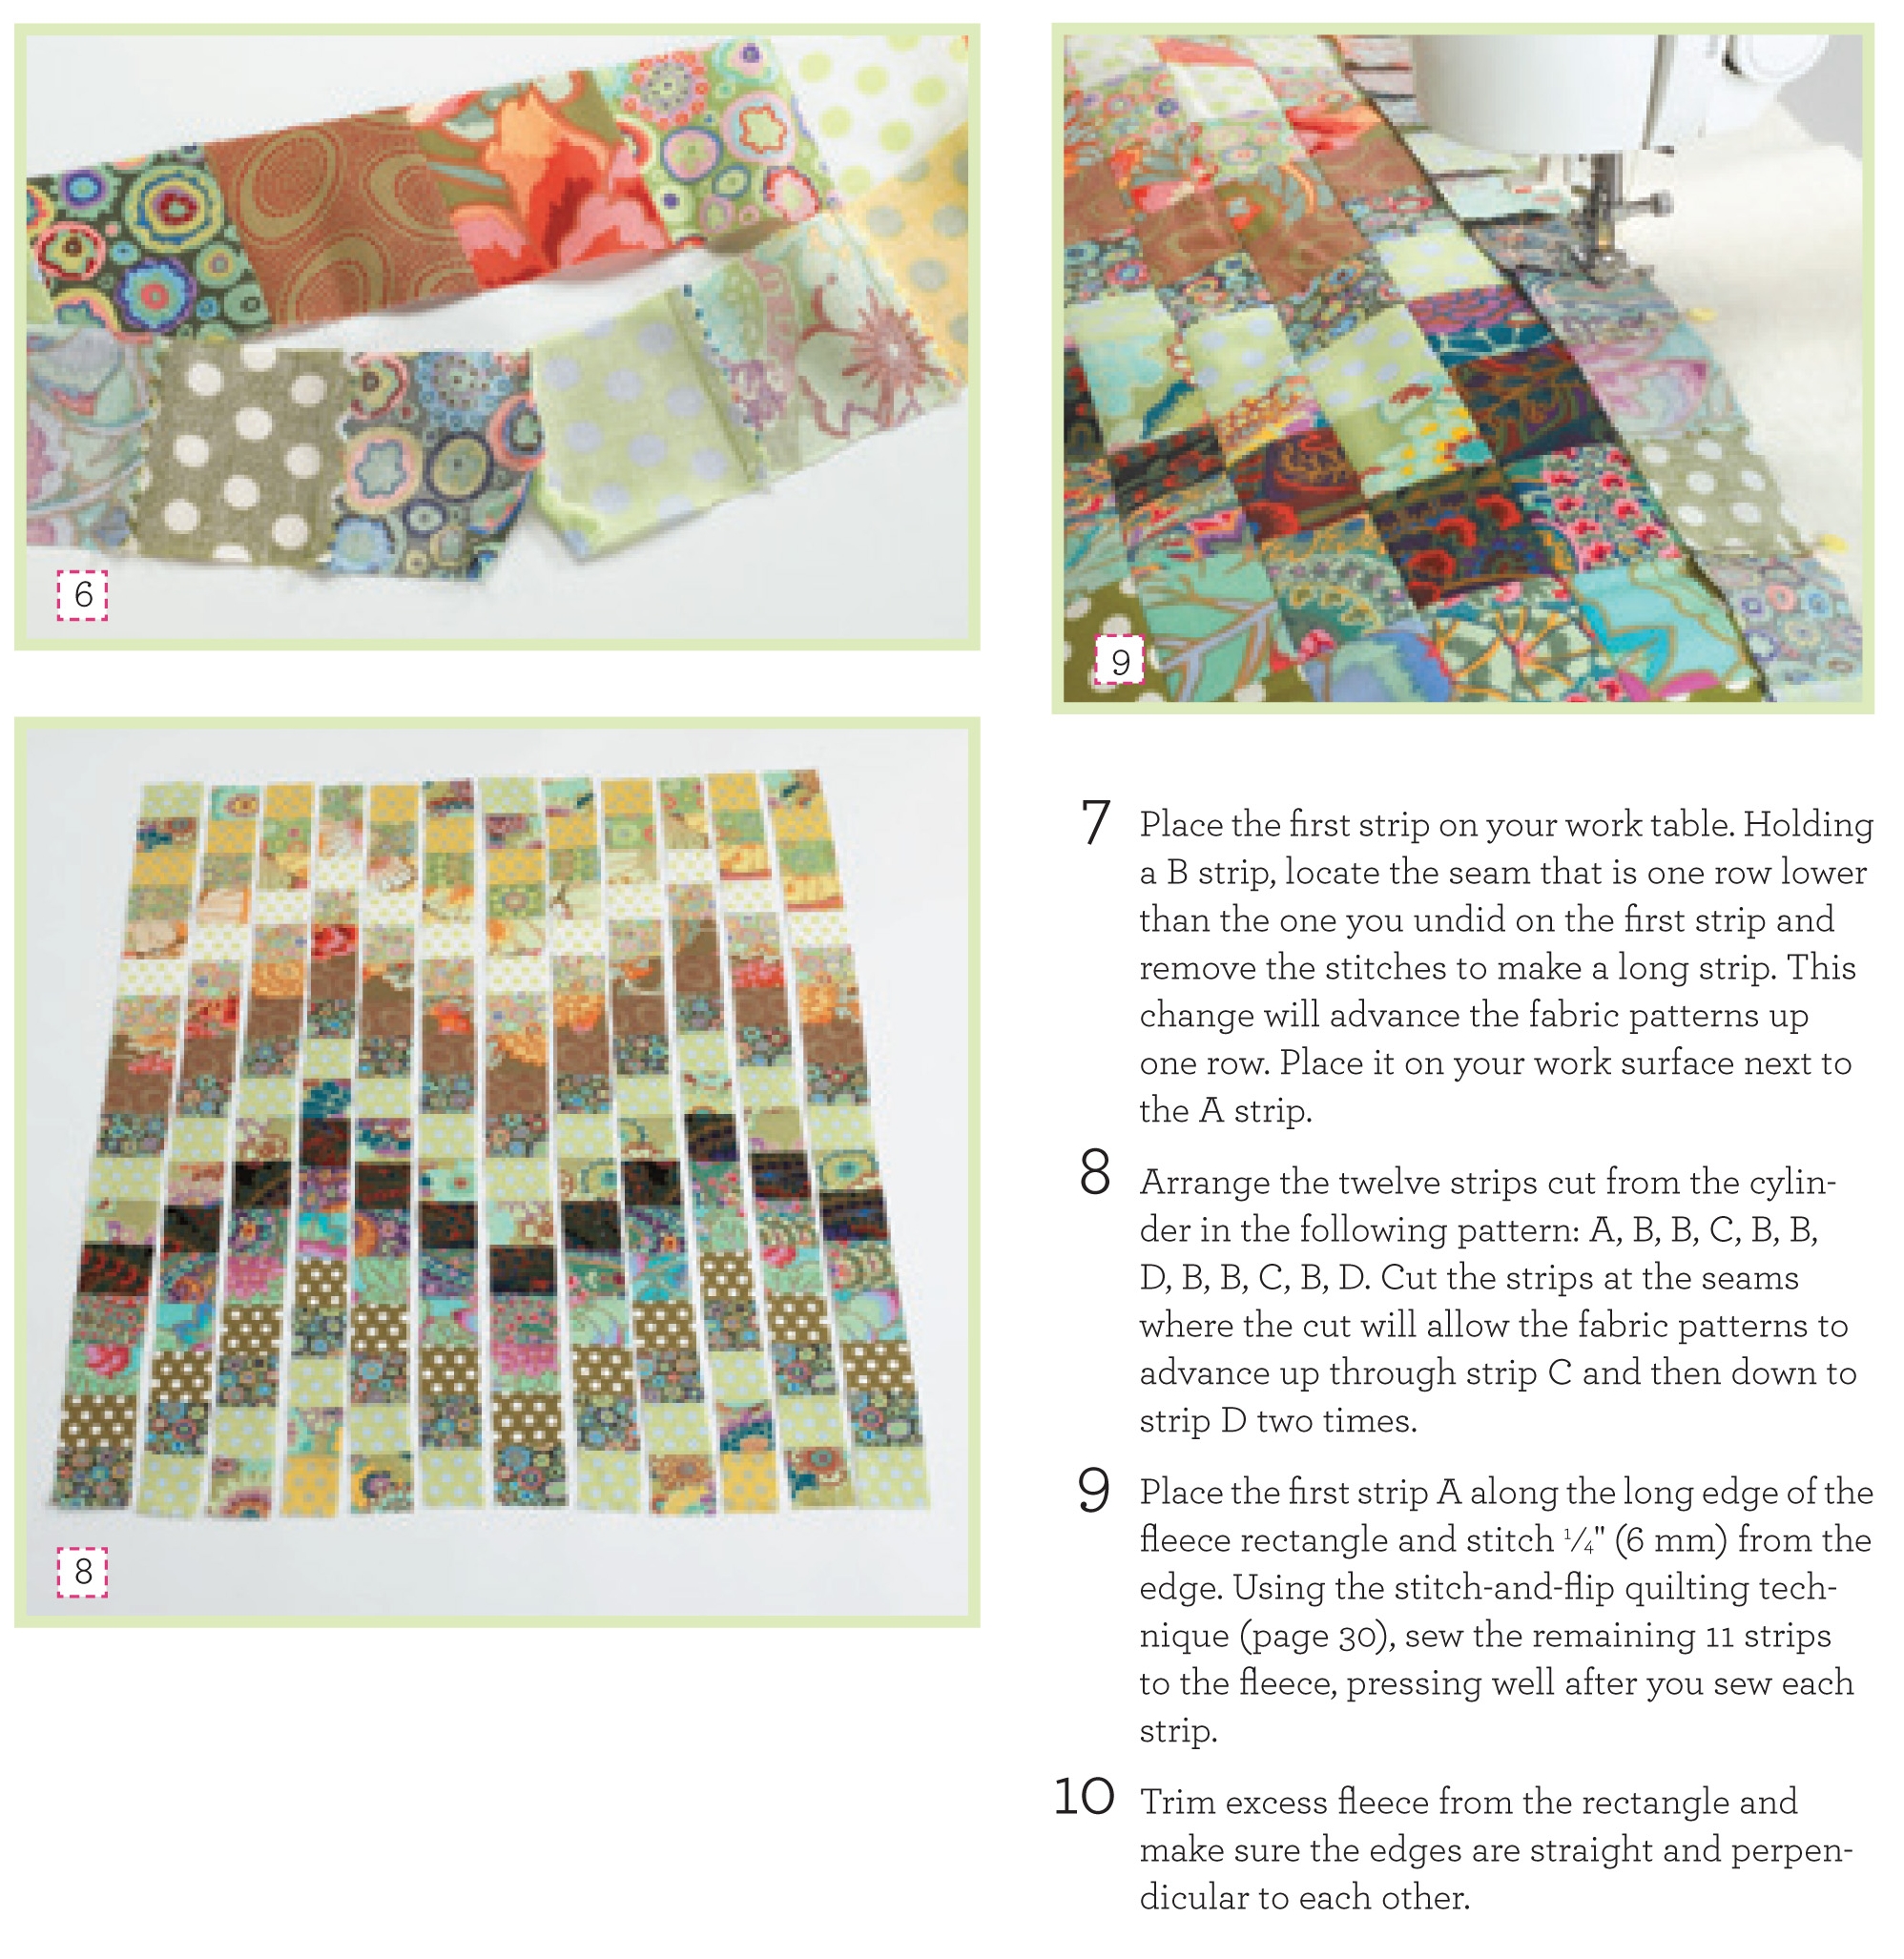
T-shirts are made from knit fabrics, and knits can stretch and be tricky to sew. Fusible knit interfacing (Pellon Easy Knit) is a great stabilizer that makes knits easy to control. It comes in white and black. (Use white on white and light colors. Use black on black and dark colors.) Cut squares or rectangles for each rough cut T-shirt piece. Follow the manufacturer’s instructions to fuse the interfacing to the back of each piece. Be careful that the hot iron does not touch the printing. Sometimes the inks will smear. Trim the squares and rectangles to the desired finished size, allowing for 1/2″ seam allowances on all sides. Line up all the pieces in each of the four columns and double check your calculations to make sure the columns will be the same length (Gotta love my old school calculator and paper and pencil…so high tech!). Then sew the pieces together in each column to make four long pieces. Press the horizontal seam allowances open. Sew the four columns together and press the horizontal seam allowances open.
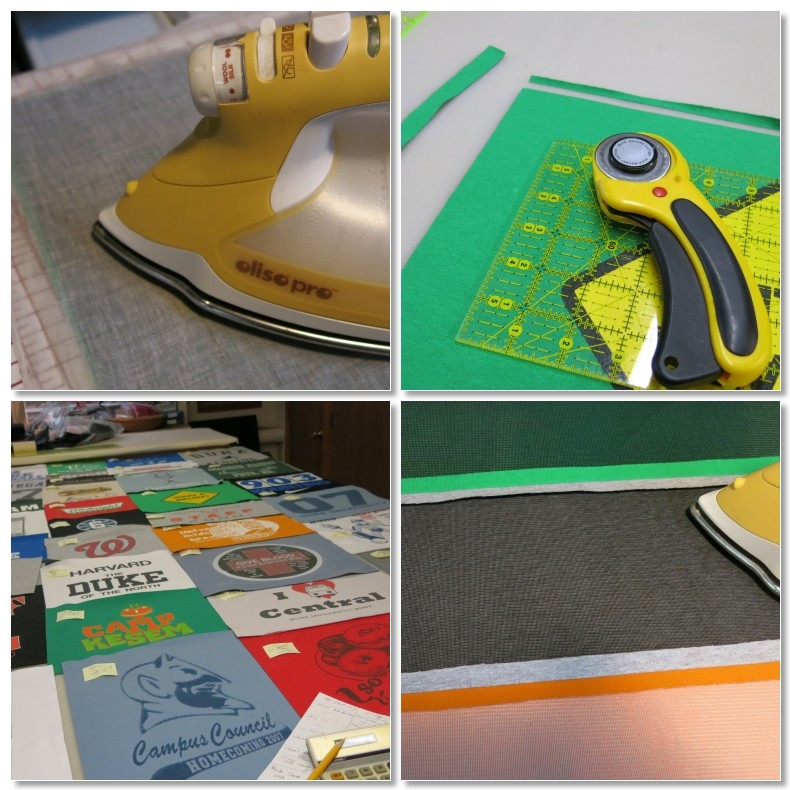
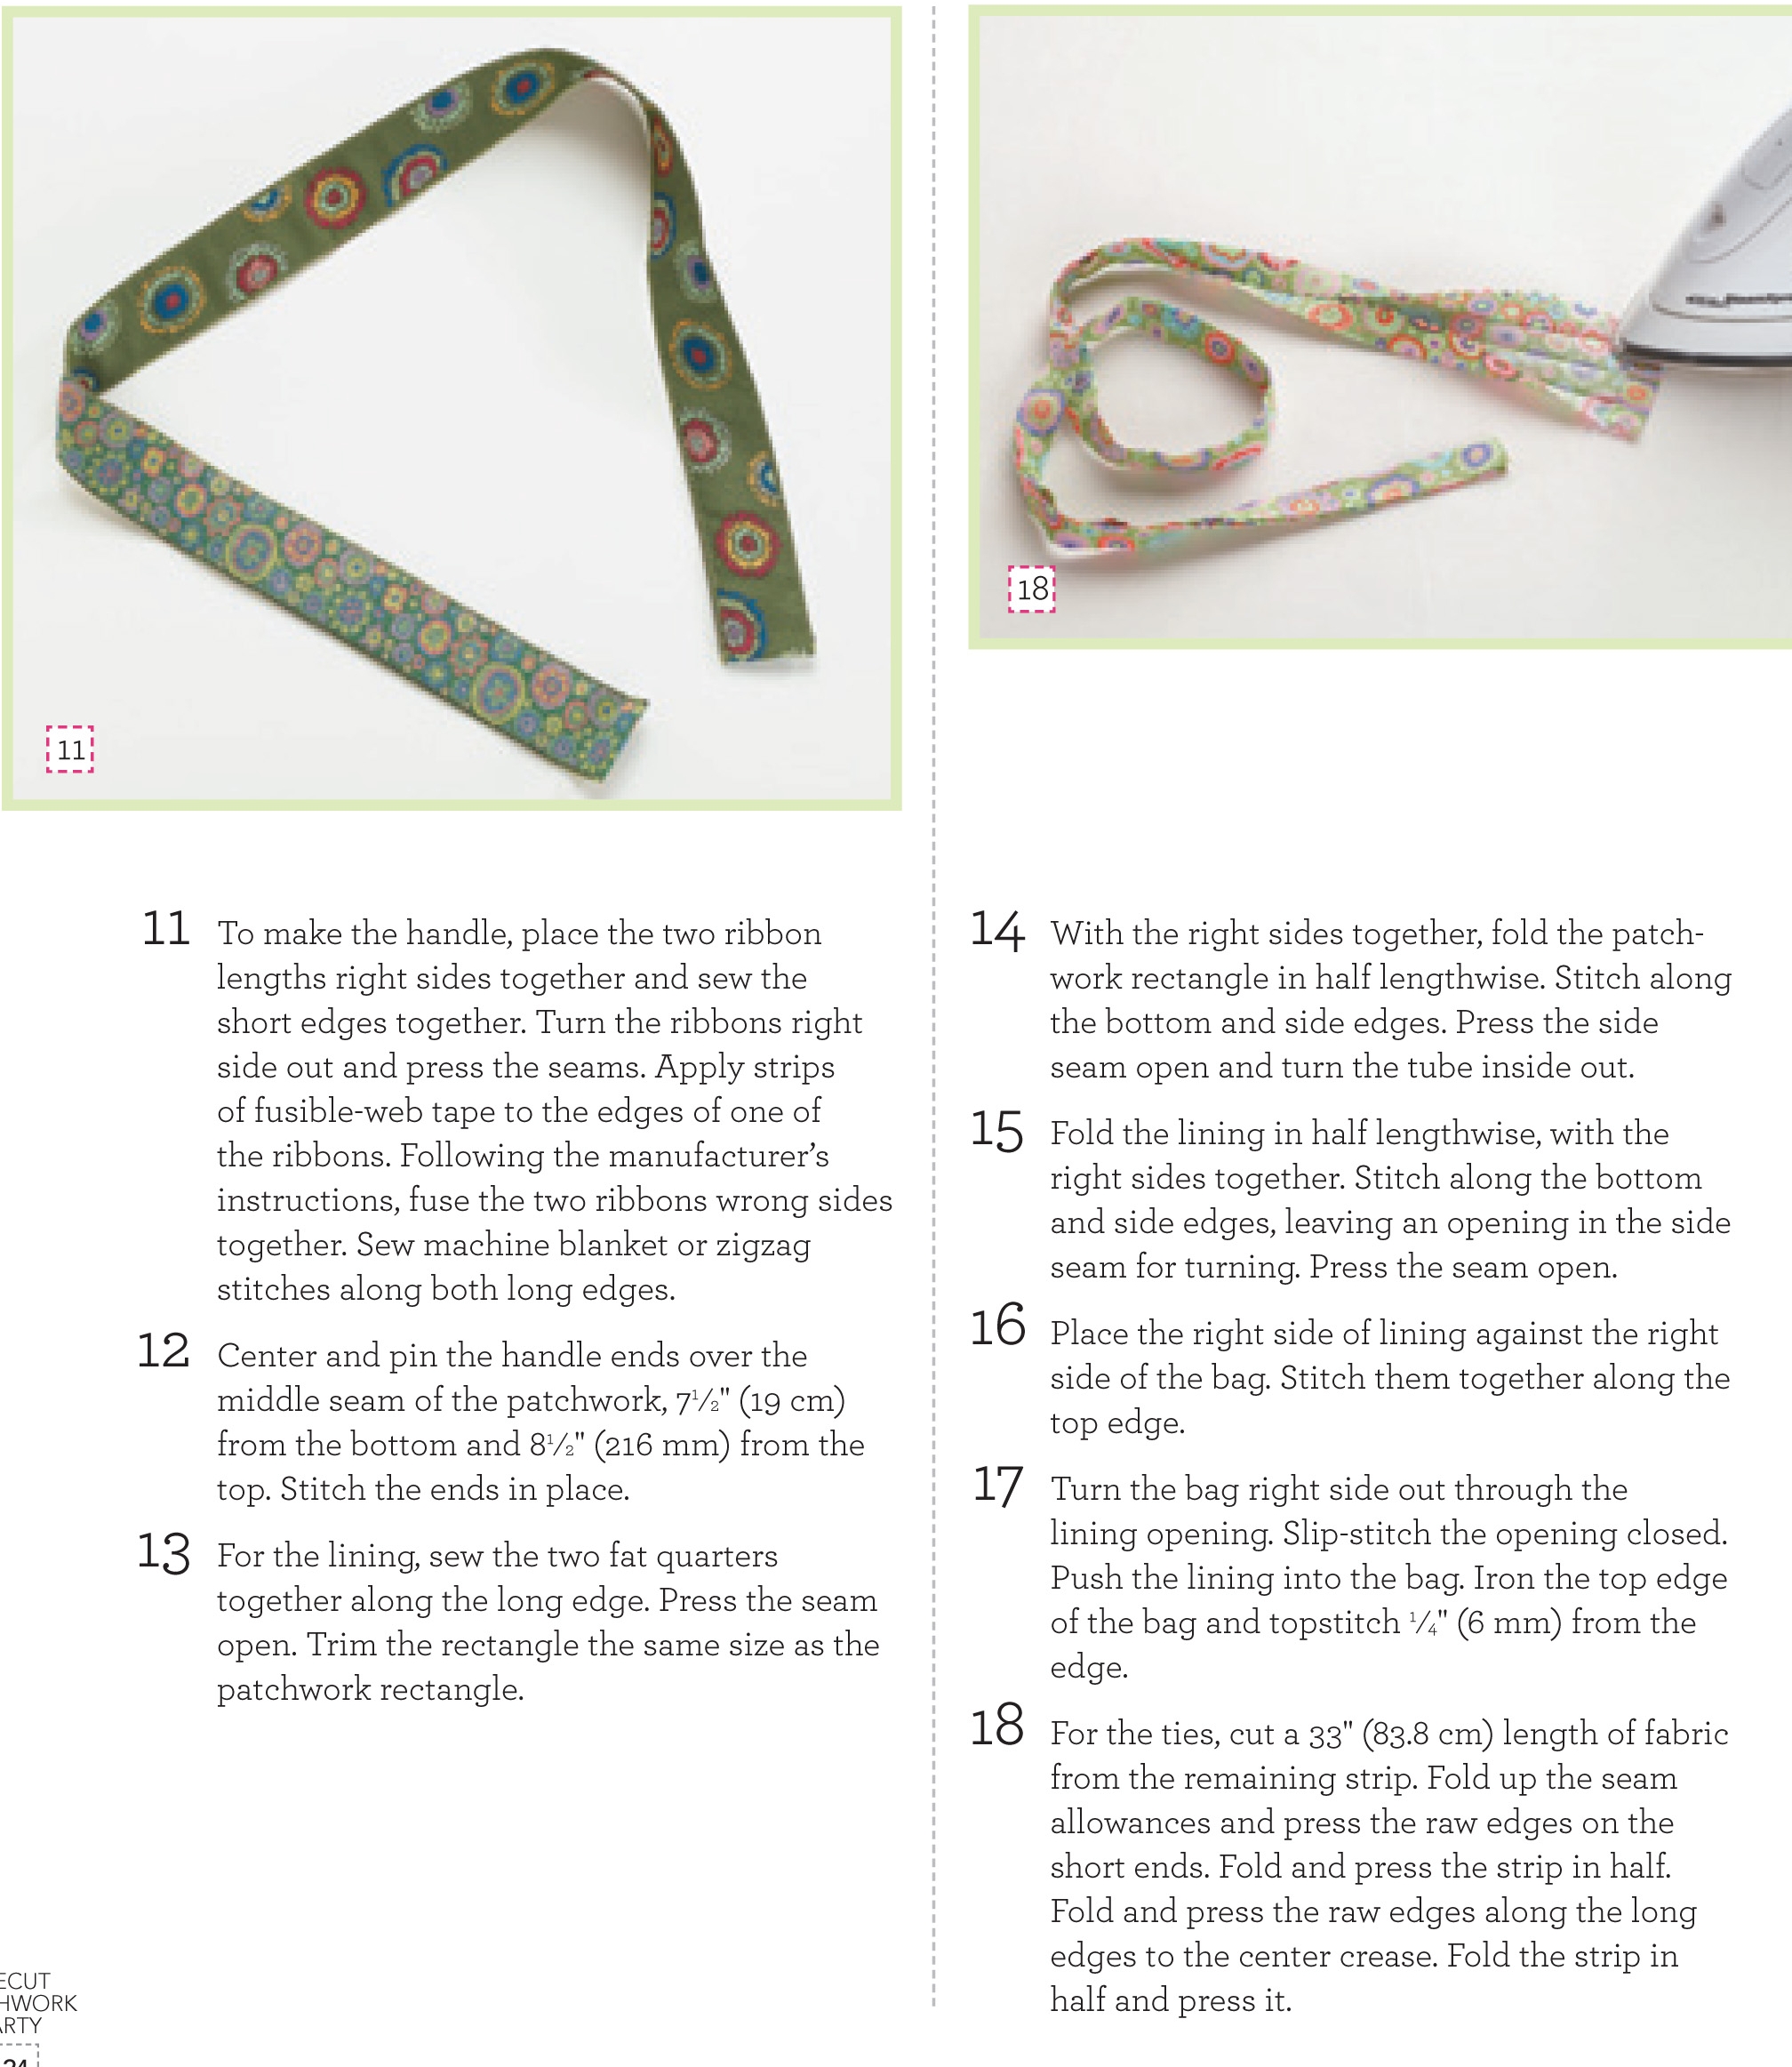
Iron on fusible knit interfacing. Trim each rectangle to the exact size needed. Double check to make sure the 4 columns will end up the same length. Sew the rectangles in each column together and press the horizontal seam allowances open. Sew the four columns together and press the vertical seam allowances open.
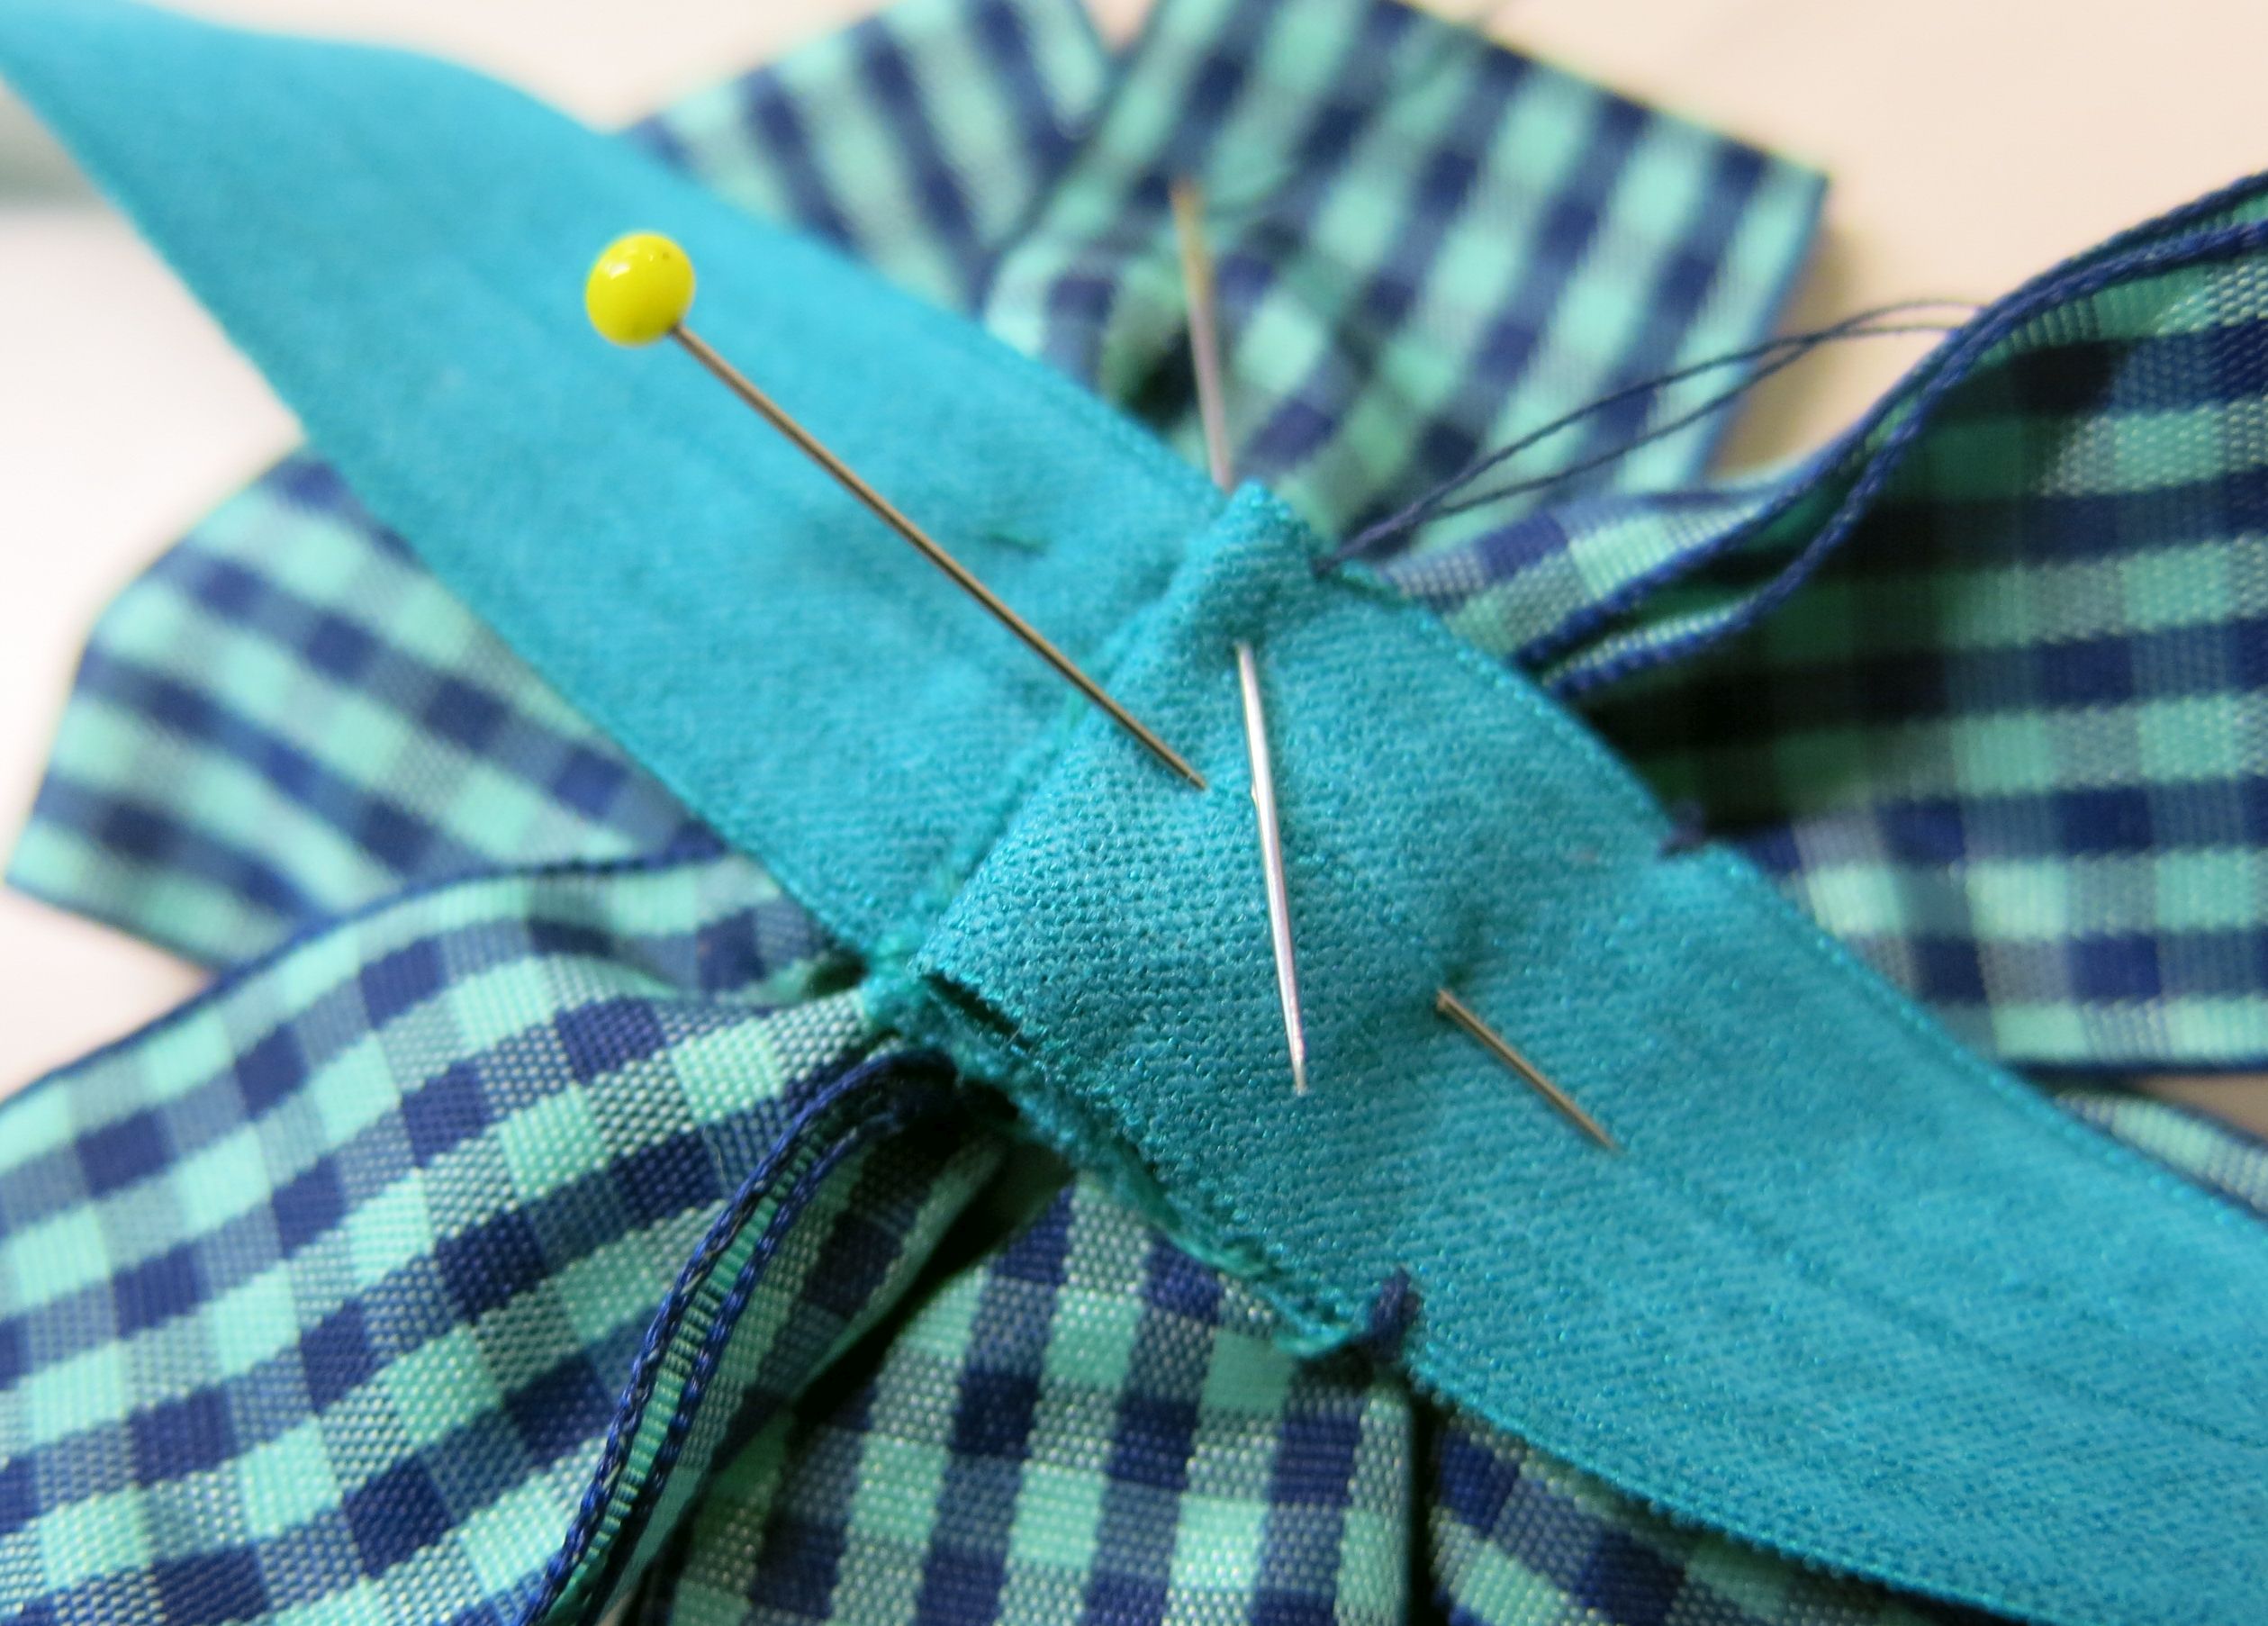
Use polar fleece yardage for the “quilt” backing. It should be 3″ or more wider and longer than the finished dimensions of the patched T-shirts. Lay the fleece right side down on the floor or a large table. Center the wrong side of the patchwork front against the fleece. Smooth and pin to hold. With thread that matches the color of the fleece, machine stitch down the vertical row seams (stitch-in-the-ditch). Stop and start the stitching at the edge of the front, back stitching a few stitches to hold at each end. Start with one of the seams at the center of the “quilt” and work out to each side Stitch the outer edges of the front 1/4″ from the cut edges. In the same way, sew across the horizontal seams of the quilt, starting in the center of the “quilt” and backtracking and over-stitching as necessary where the squares and rectangles do not align straight across. Stitch the outer horizontal edges to the backing 1/4″ from the cut edges.
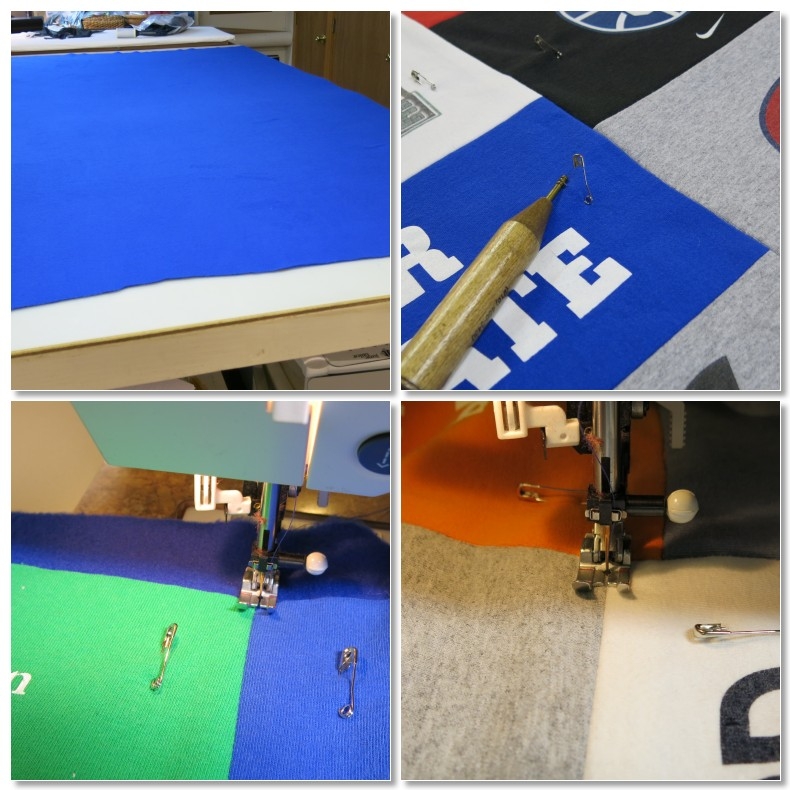
Lay out fleece backing. Center patched T-shirts on top of fleece and pin. Stitch-in-the-ditch to quilt along the vertical and horizontal patchwork seams.
The “quilt” is now ready to be bound and rather than apply a separate binding fabric, I brought the extra fleece to the front to cover the raw edges of the T-shirts. Use a ruler and rotary cutter to trim the excess fleece 1 1/4″ beyond the edge of the T-shirt edges. To finish the edges, fold the excess fleece to the front of the the “quilt”. Begin by folding one corner down and securing with a drop of glue 1/4′ from the cut edge. (Elmer’s School Glue works great and it washes out when the quilt is laundered.) Fold down the excess fleece along one edge and glue, taking care to keep the glue about 1/4″ from the edge. Use a few pins to hold the fleece in place until the glue dries. Fold down the excess fleece along the adjoining edge and glue. Continue to glue the remaining corners and edges.
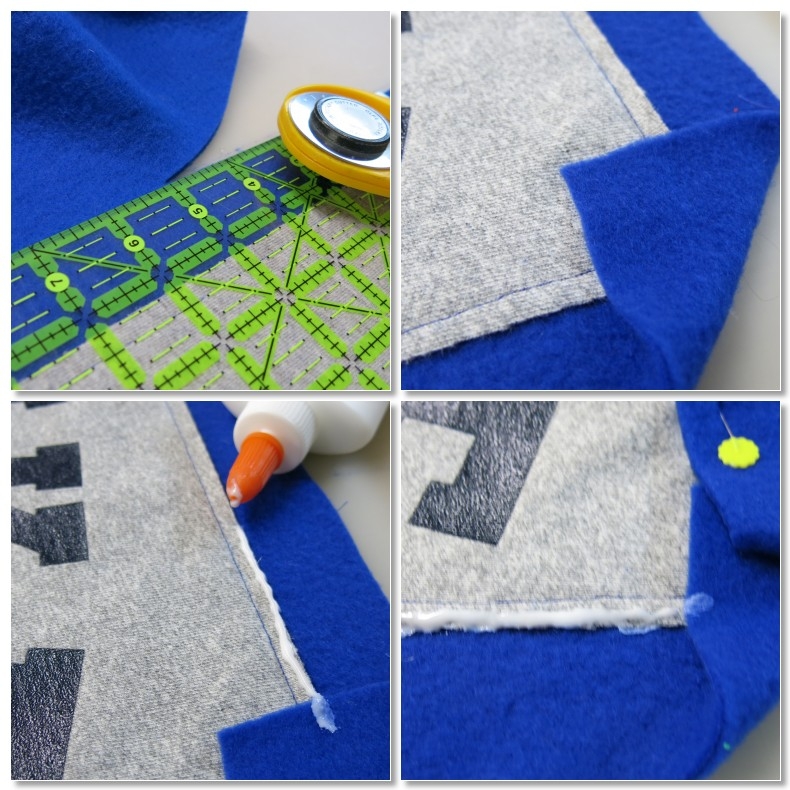
Trimming excess fleece and folding the edge to the front of the “quilt” to create the “binding”.
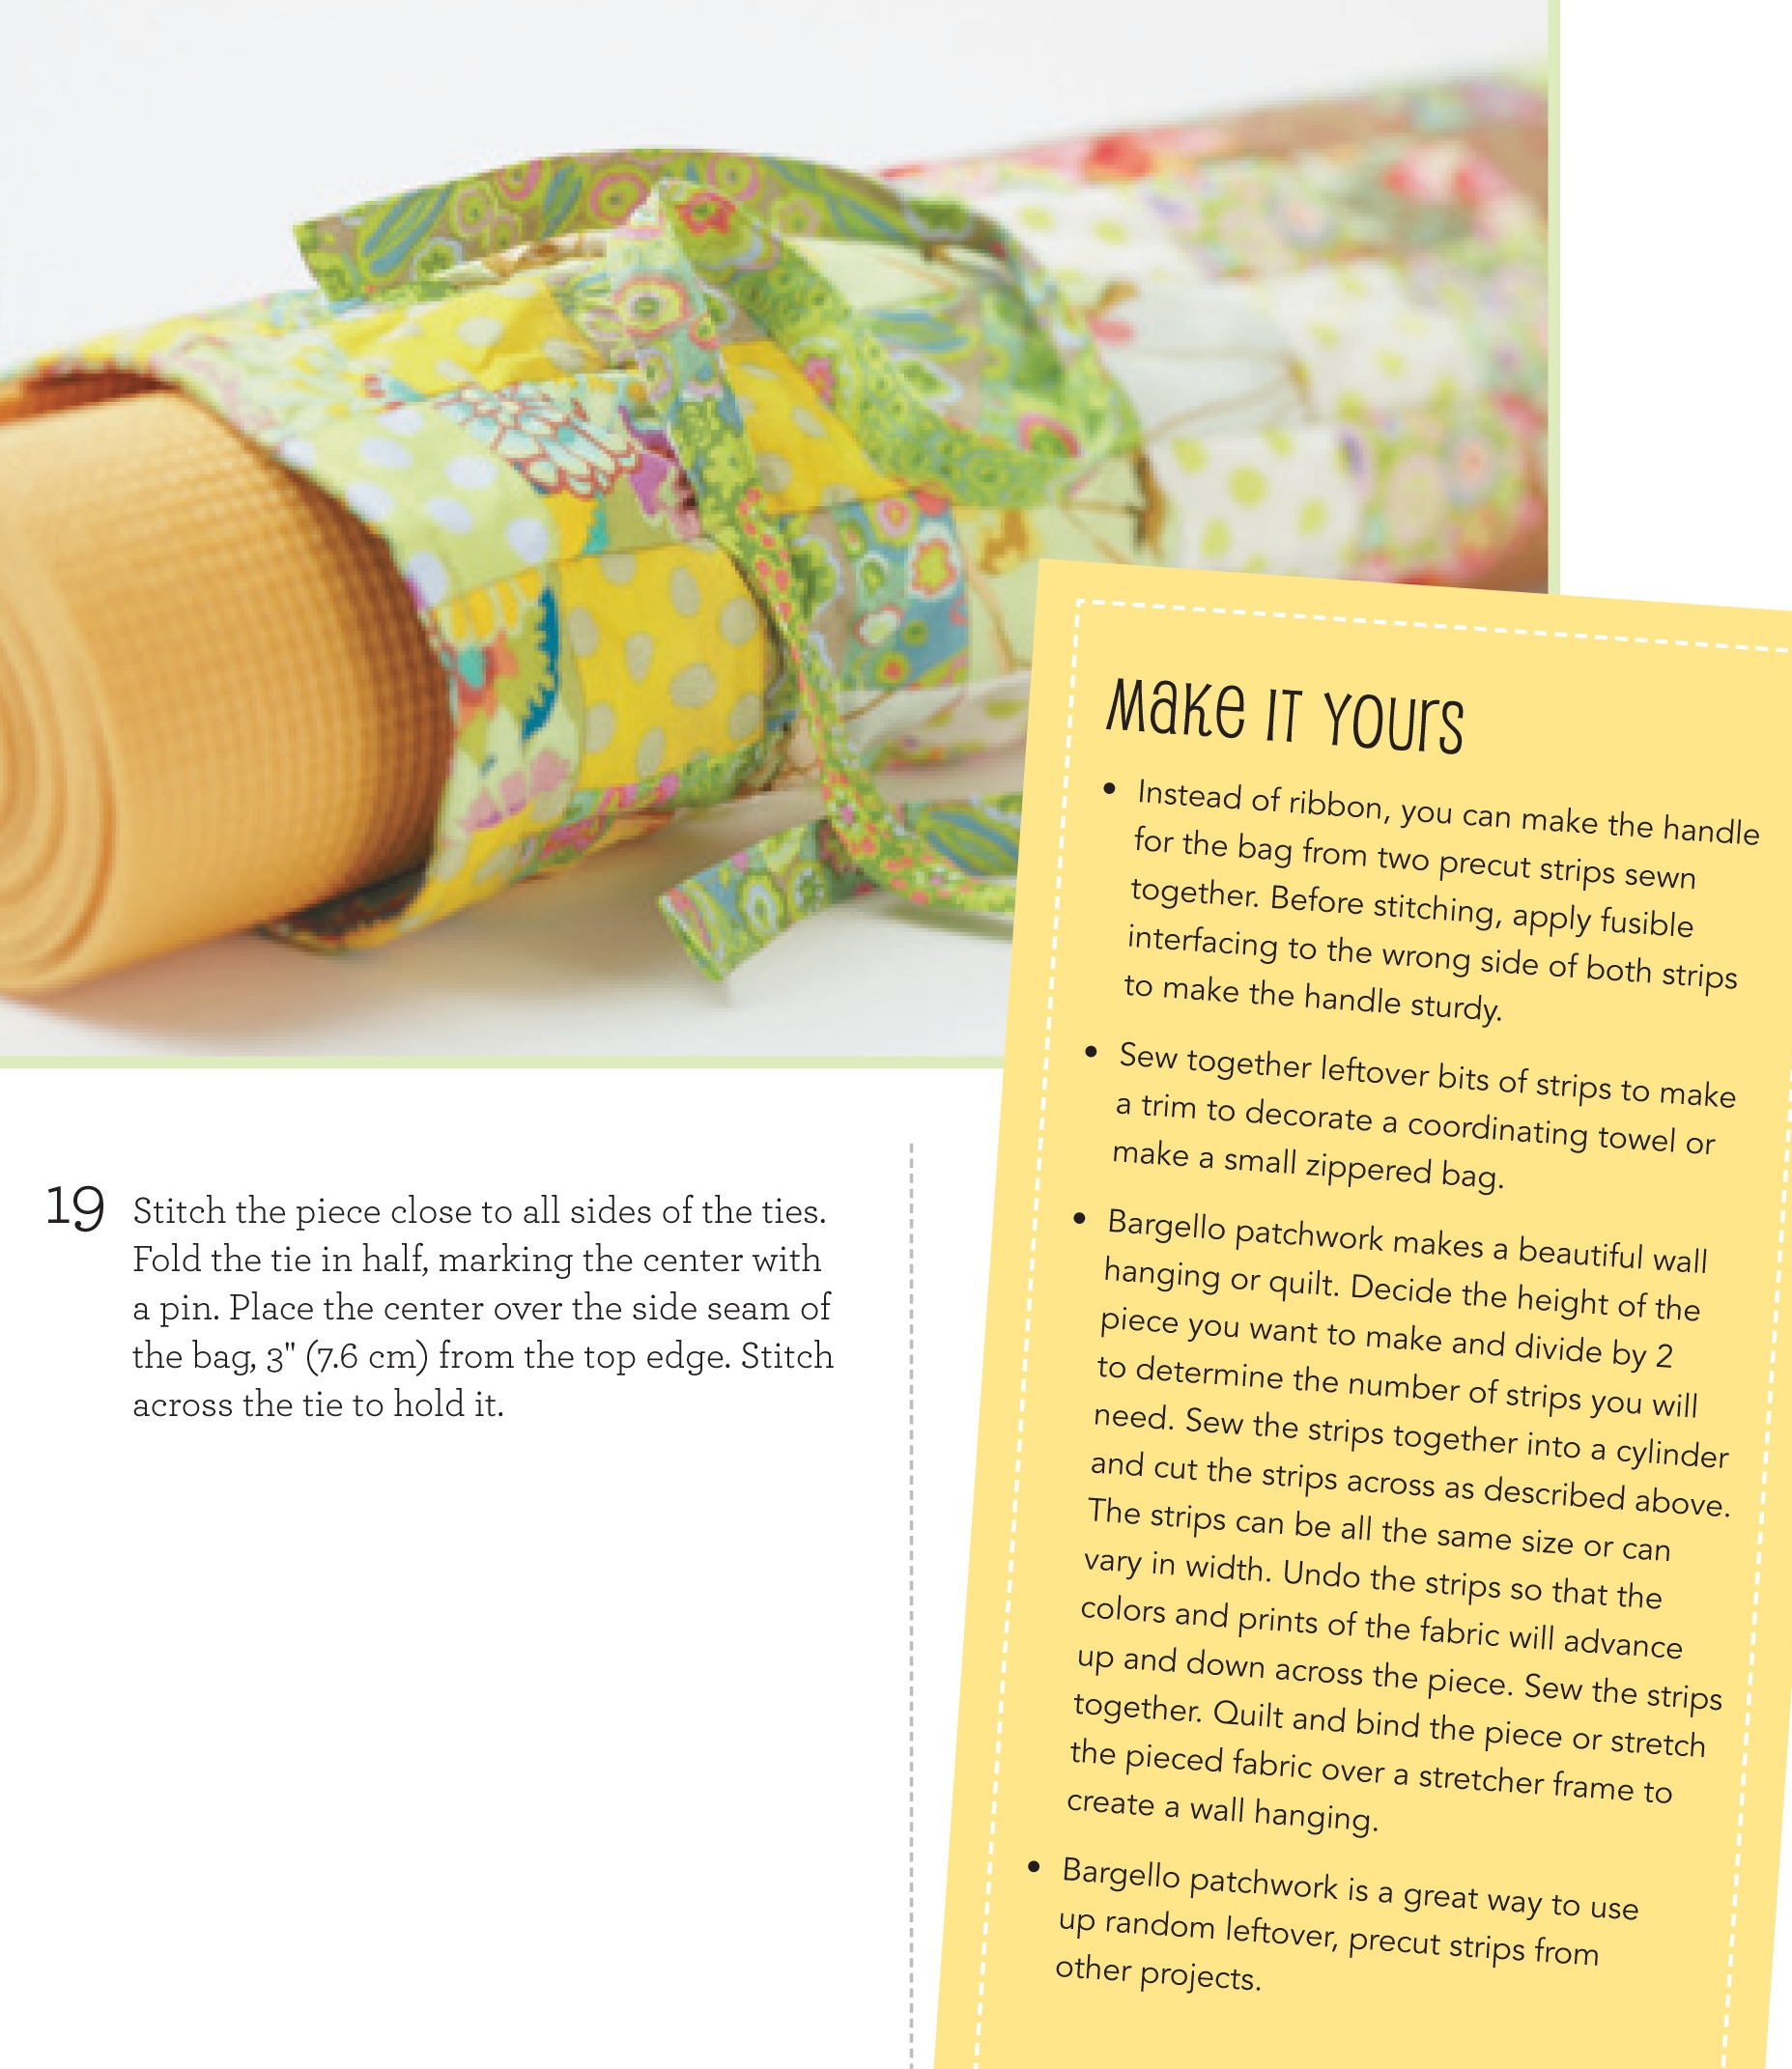
A neat miter will be formed at each corner. Use a few pins to keep the folds in place. Sew the fleece binding to the “quilt” by machine stitching 1/2″ from the folded edge. With small sharp scissors, trim the excess fleece close to the stitching line. Zig-zag stitch over the trimmed edge to neatly cover the straight stitching and finish the cut edge of the fleece.

Pin mitered edges at corners. Machine stitch 1/2″ from the folded edge of the fleece. Trim excess fleece close to stitching. Zig-zag stitch over the raw edge of the fleece to neatly finish the binding.
I used 30 T-shirts (backs & fronts) to make this “quilt”. You may need more or less, depending upon the size of the T-shirts and the dimensions of the printed areas.
I think you will find the finished “quilt” nice and heavy and warm and won’t be missing that extra layer of batting that would make it an official quilt.